Sideways knitting can be an excellent way to knit larger size sweaters. There are a number of advantages to sideways knit sweaters:
Customizable width. The width of the sweater is determined by the number of rows rather than stitches.
Natural Draping: Side-to-side knitting can result in a fabric with more natural drape, which can be flattering for all sizes. The sideways construction allows the fabric to hang differently, providing a comfortable and attractive fit.
No seams or minimal seams: This can simplify the knitting and finishing process and make a smooth finish for your sweater.
Visual interest: The sideways construction can create unique visual interest in the sweater, including features like stripes, color blocks or stitch patterns that run horizontally.
However, our needlebeds limit the length of the sweater.
This can be overcome by adding a
Peplum
or lower panel to lengthen the sweater.
Sideways Knitting
Chart a Sideways Cardigan
Overcome our needlebed limitations by knitting sideways. Just a few steps and you can create your own custom design for any size sweaters.
Sideways Knitting
Quick Overview / steps
We will practice with a sideways cardigan and plan to knit the body of the sweater in one piece. Fronts, and backs could be knit separately (and in different stitch patterns).
This process could also be applied to a pullover.
SGS = Standard Garment Styling OPD = Original Pattern Drafting
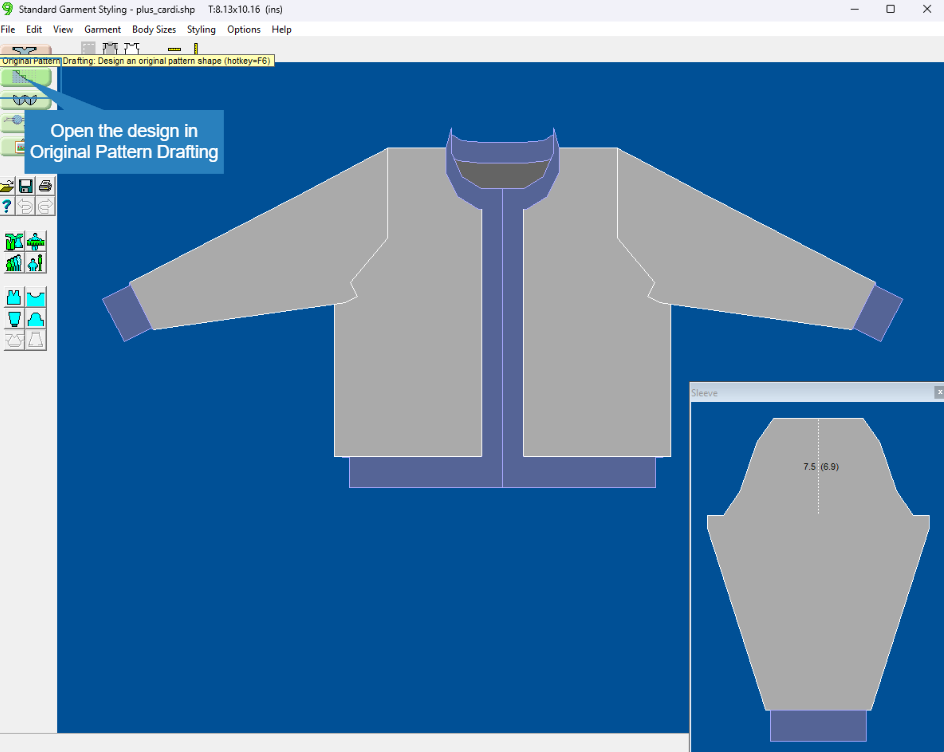
Create a Basic Sweater Shape
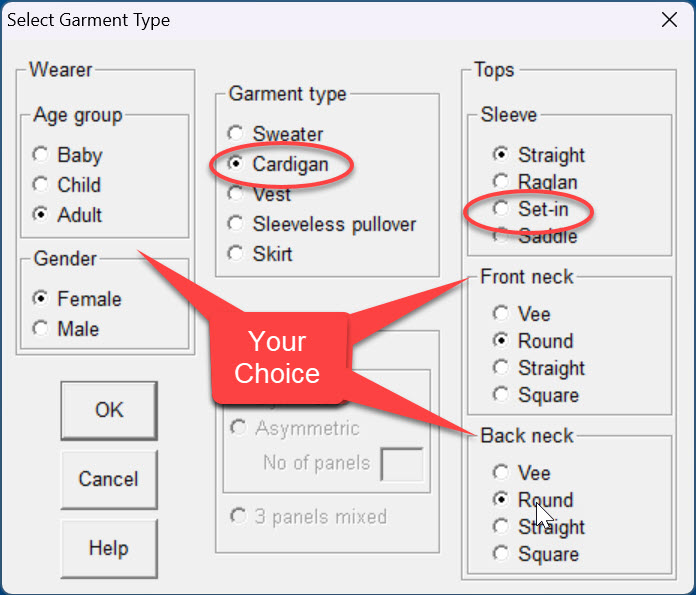
Choose
Set in Sleeve Top Cardigan
and make your selections of age, gender and neckline shapes.
SGS | Make Sizing Changes
MEASURE A GARMENT THAT FITS
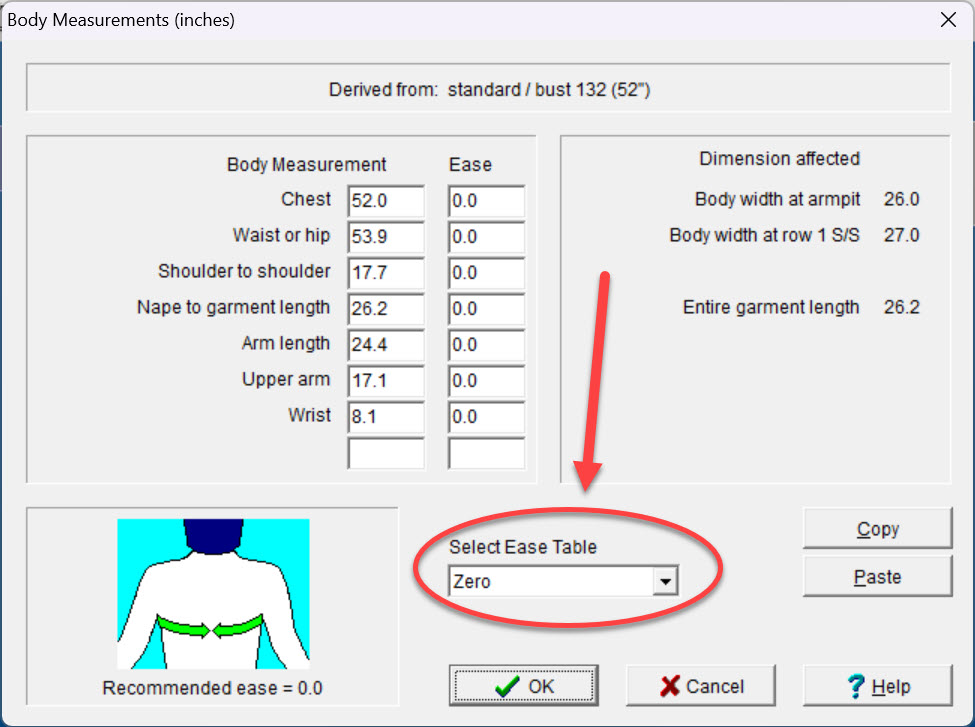
Use those measurements to Perfect Fit your sweater to your desired size.
By using existing measurements, they will automatically include any desired ease.
Switch to the Zero Ease Sizing table to prevent confusion.
Tip:
If you plan to knit the body of your sweater sideways in one piece, make the chest and waist the same measurement. This will save steps when joining the pieces. If your chest and waist are different measurements, plan to knit each sideways piece separately.
Example:
Your upper arm may measure 14", but you probably don't want your sweater to be skin tight. You'll want some ease.
By measuring a comfortable garment and applying those measurements to your design, your sweater will be comfortable to wear.
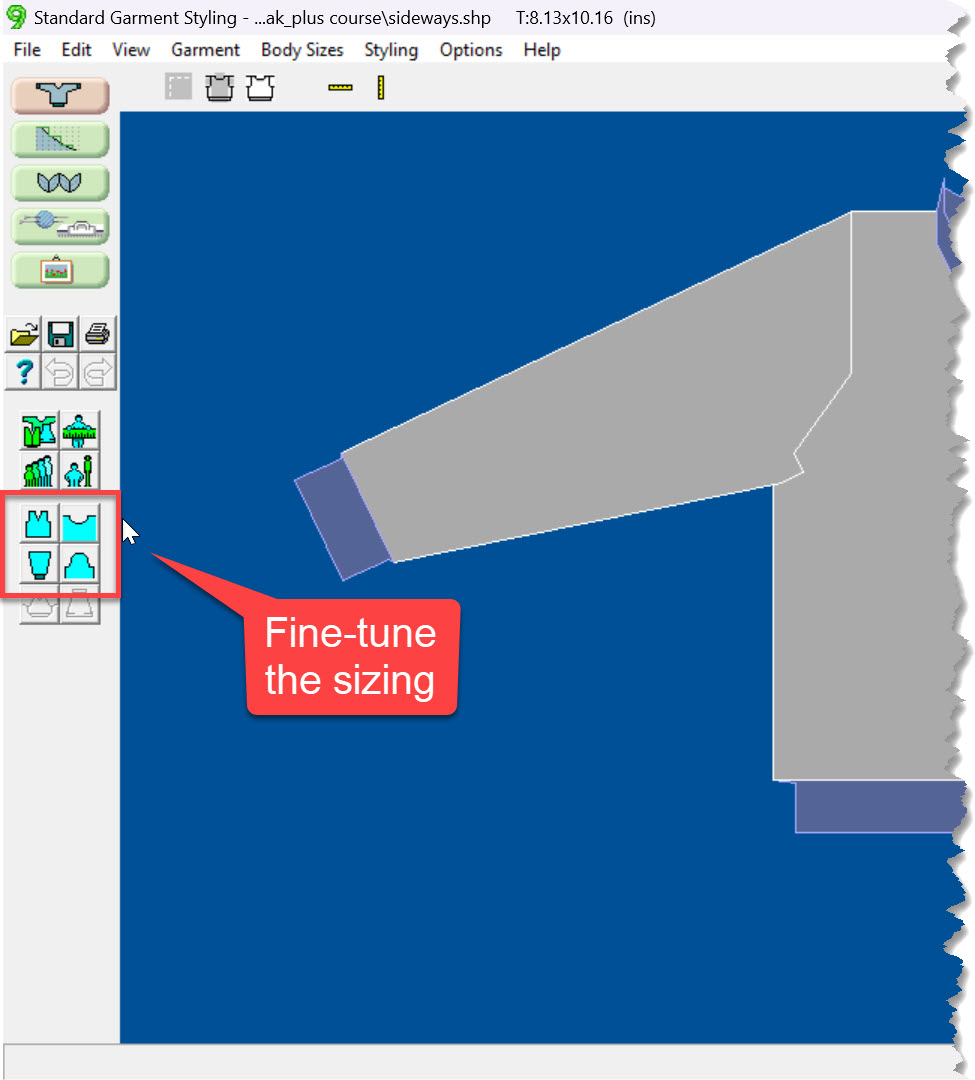
SGS | Fine-tune the sizing
Use these buttons to fine-tune your measurements to match your sample garment.
SGS | Name your file
Name your file sideways_cardigan.shp
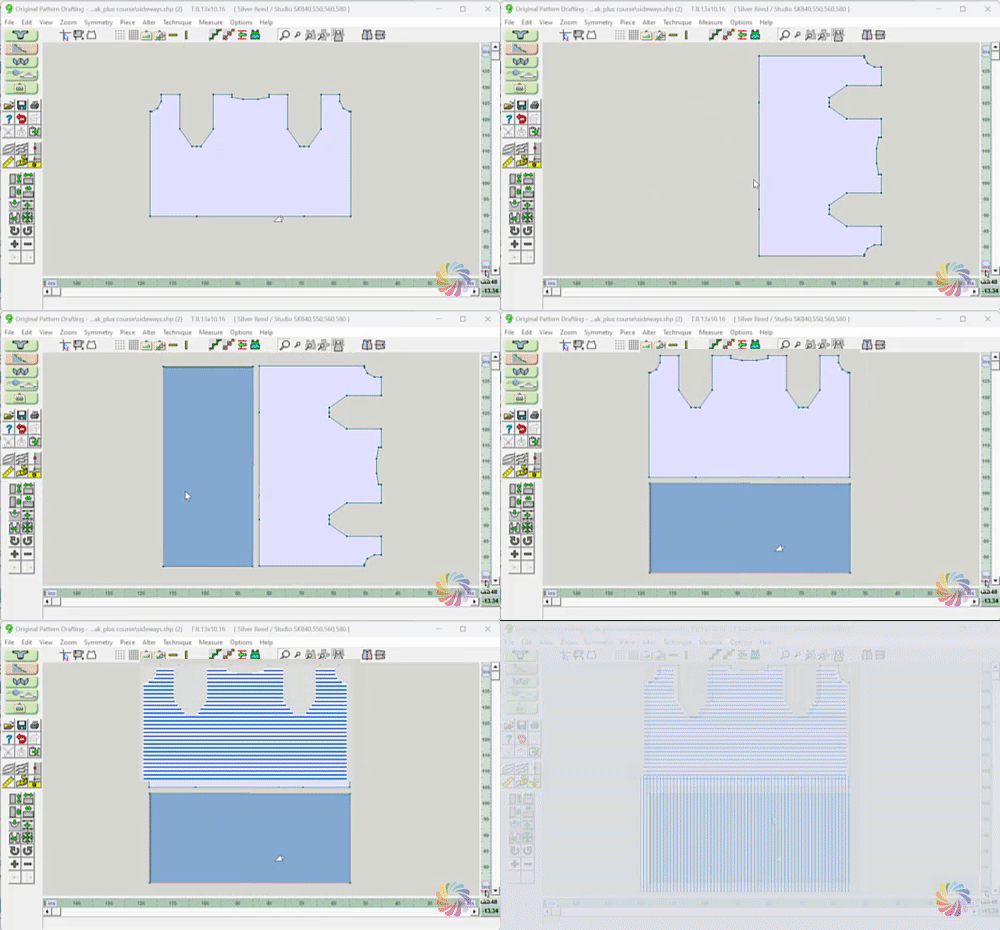
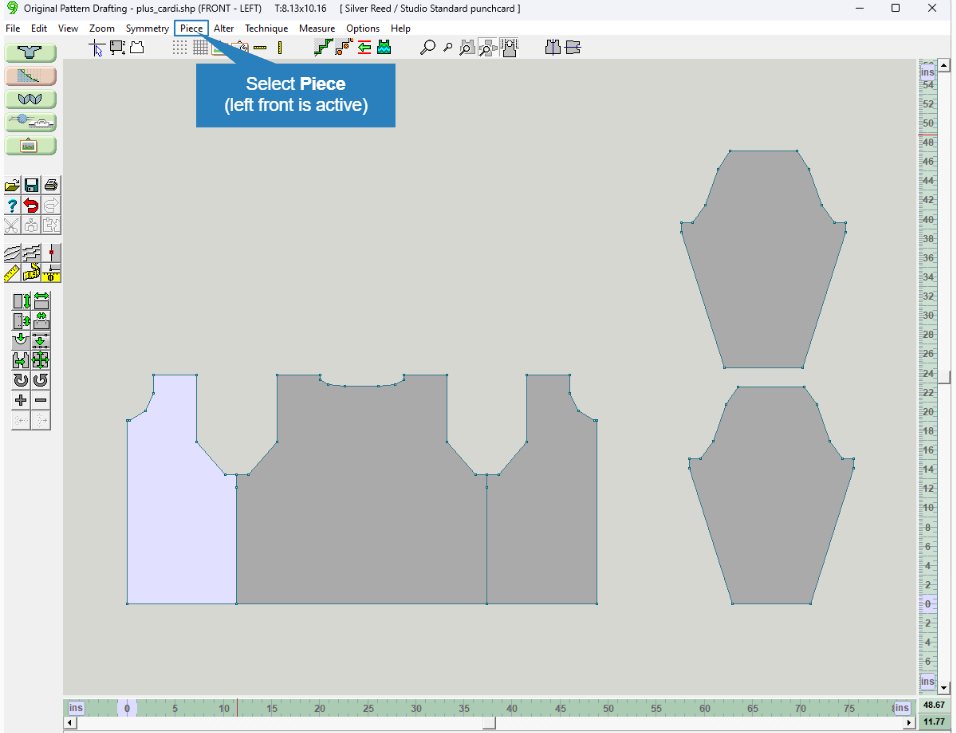
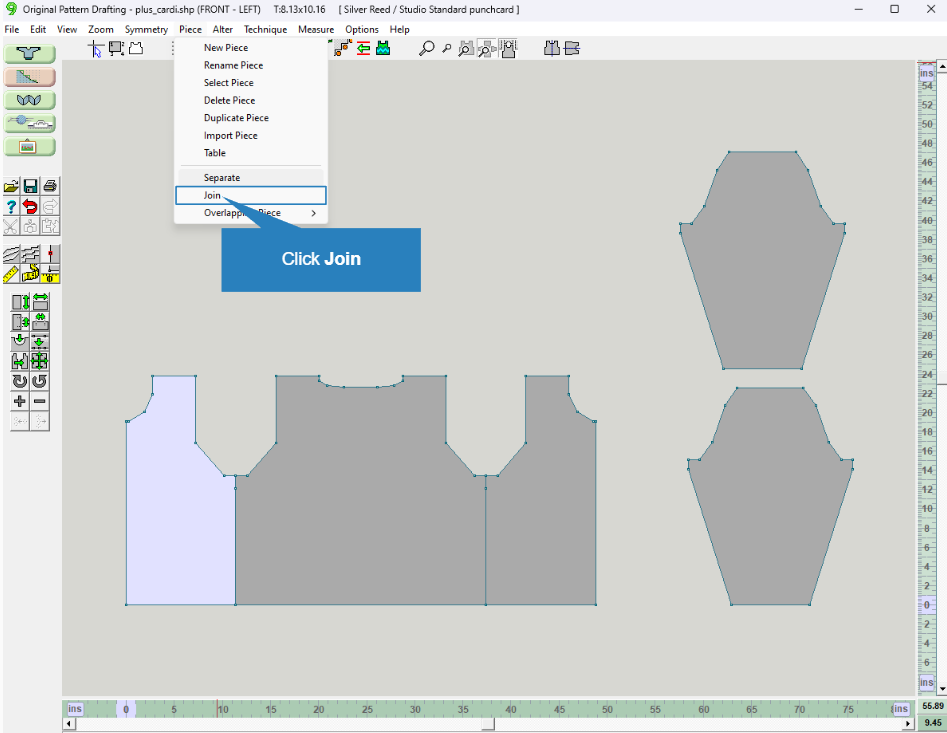
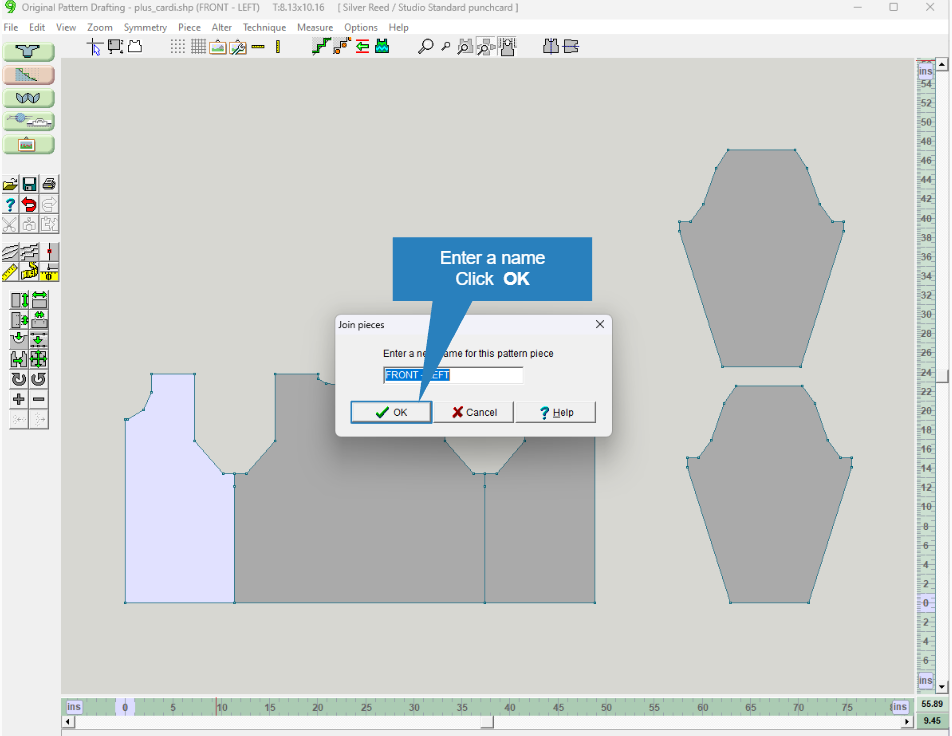
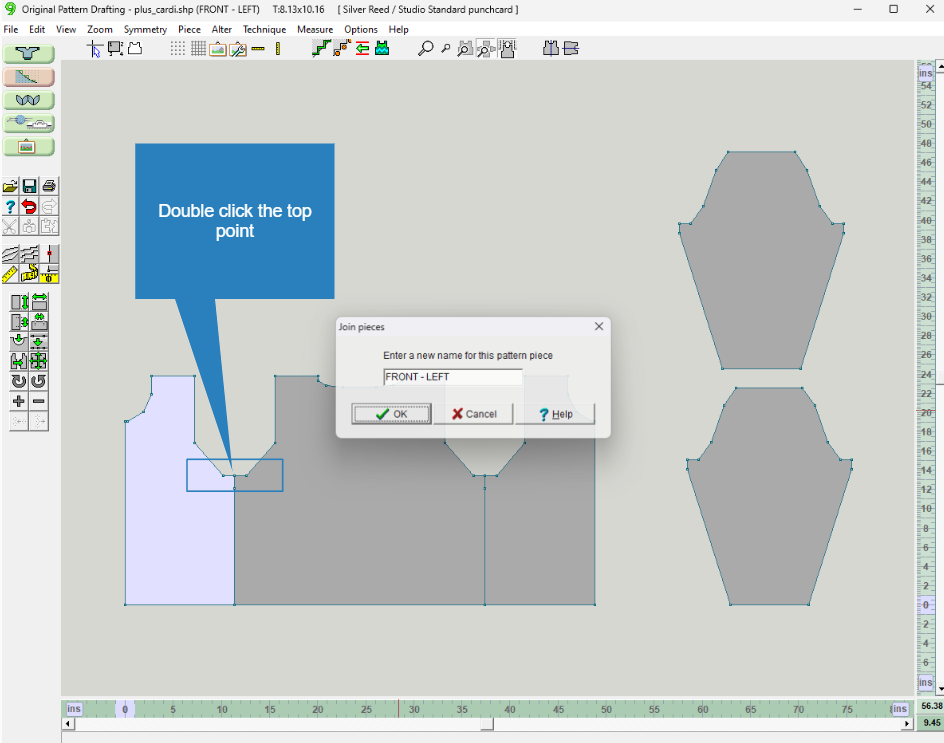
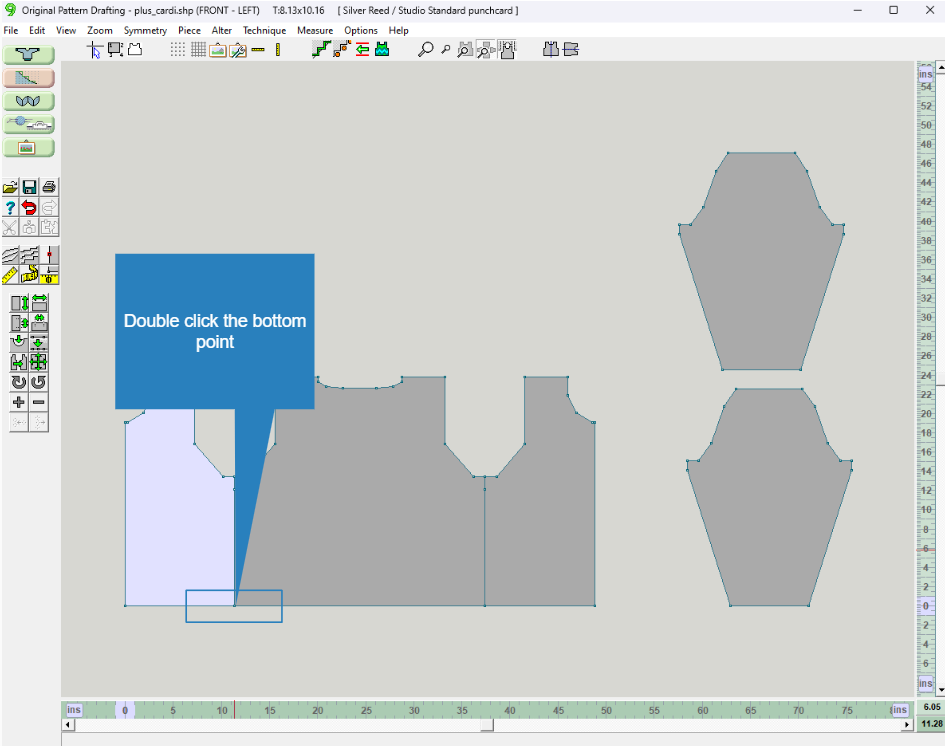
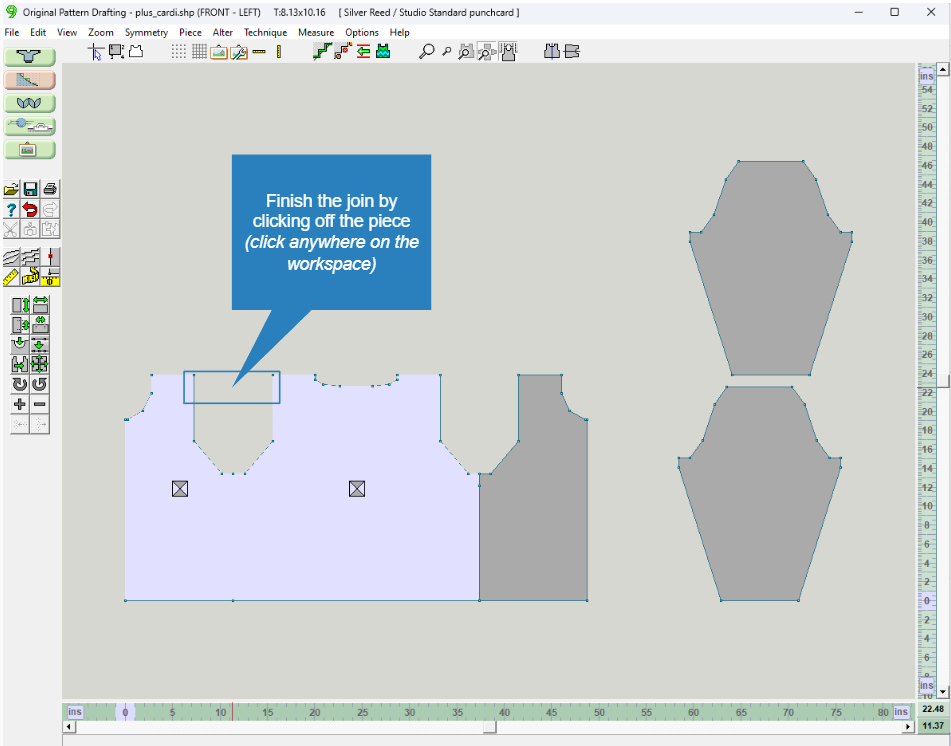
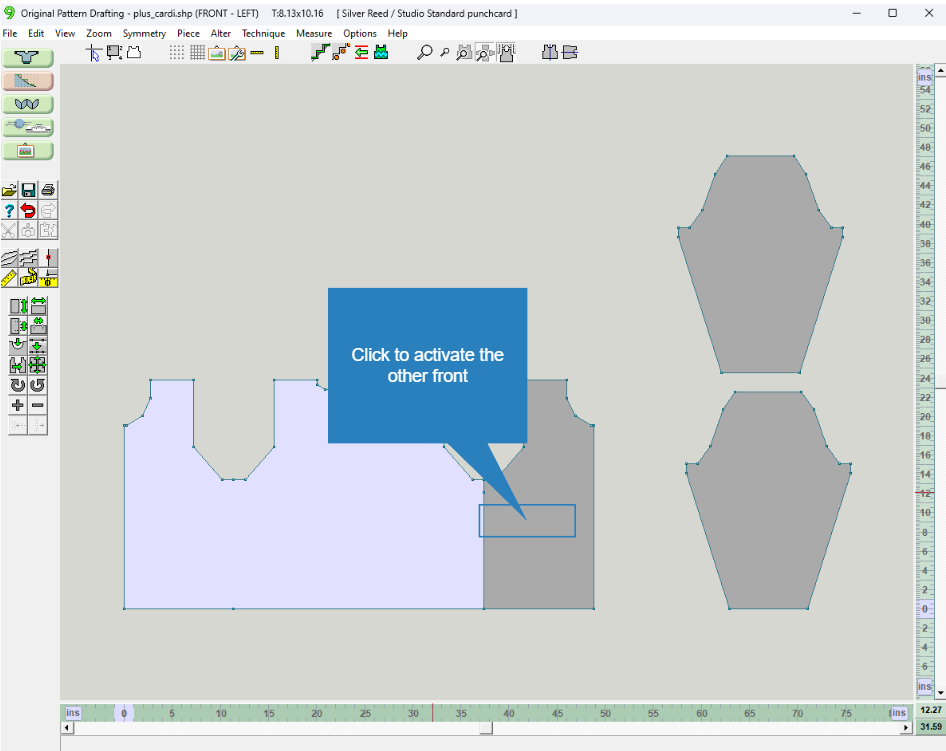
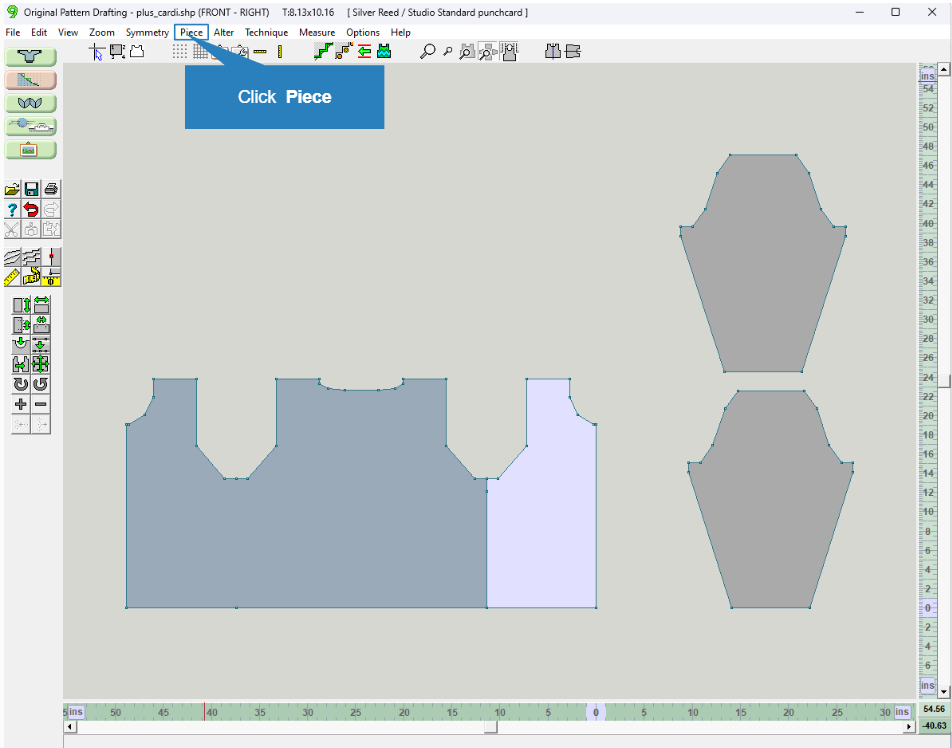
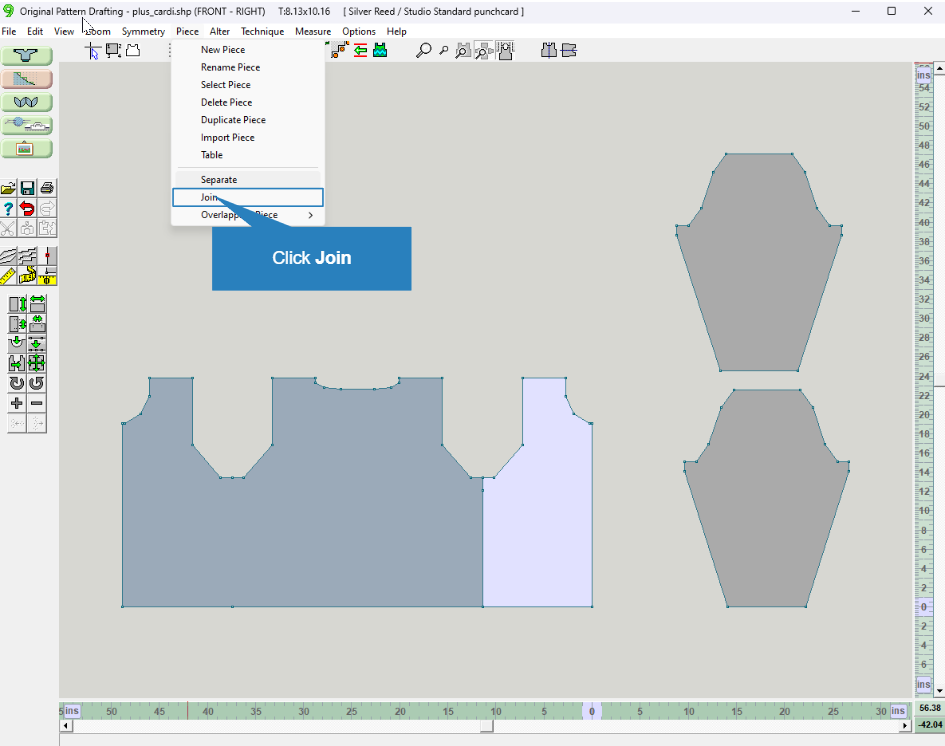
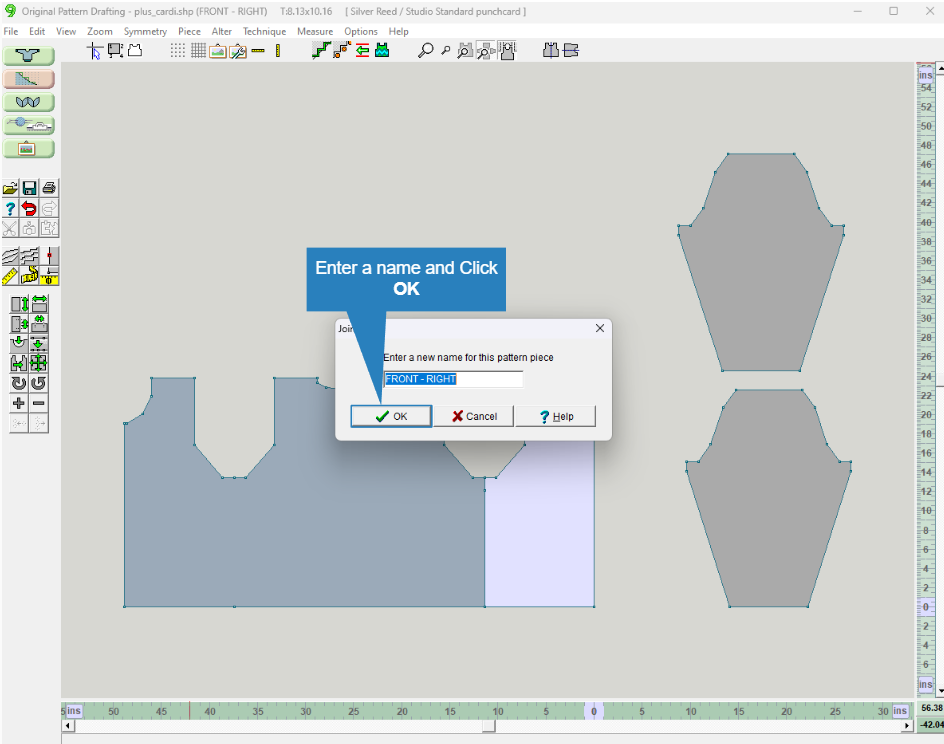
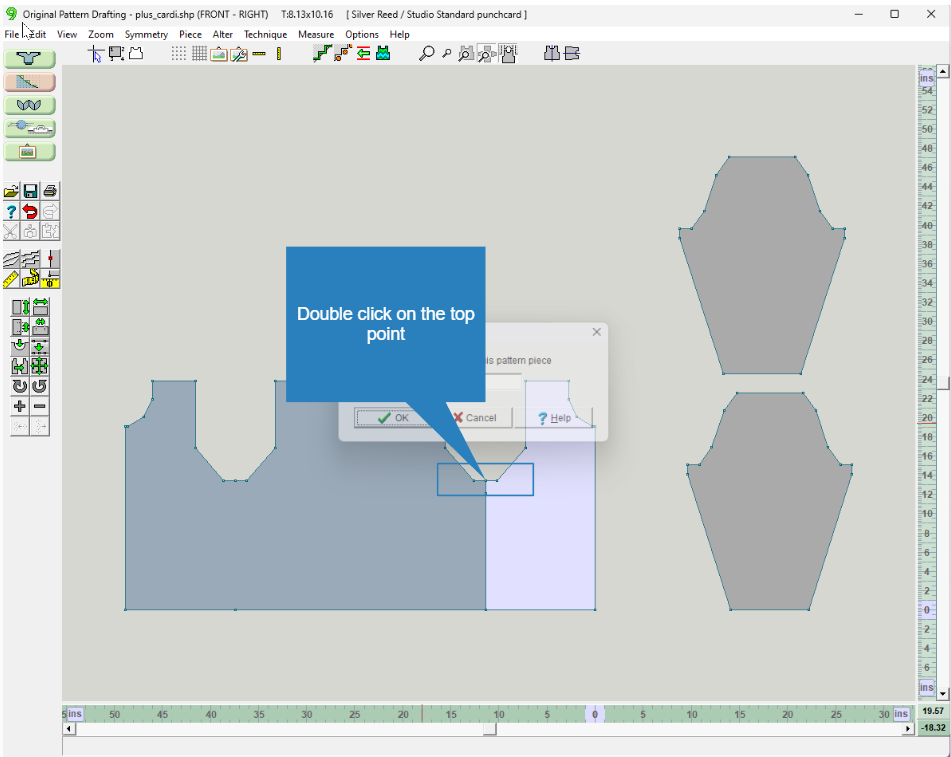
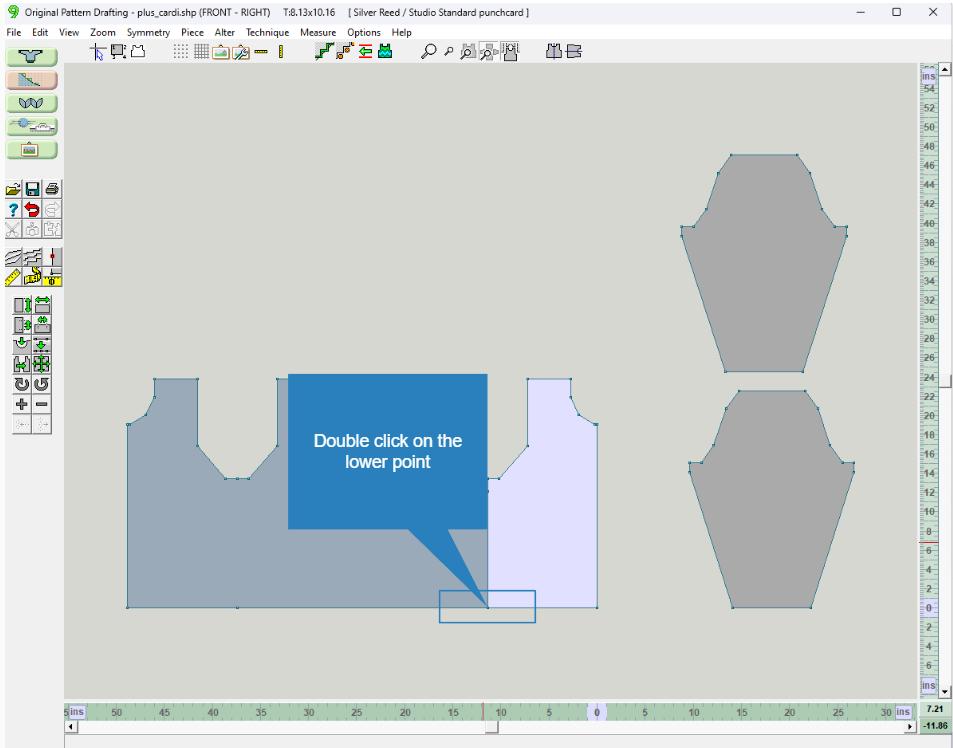
OPD | Join the pieces
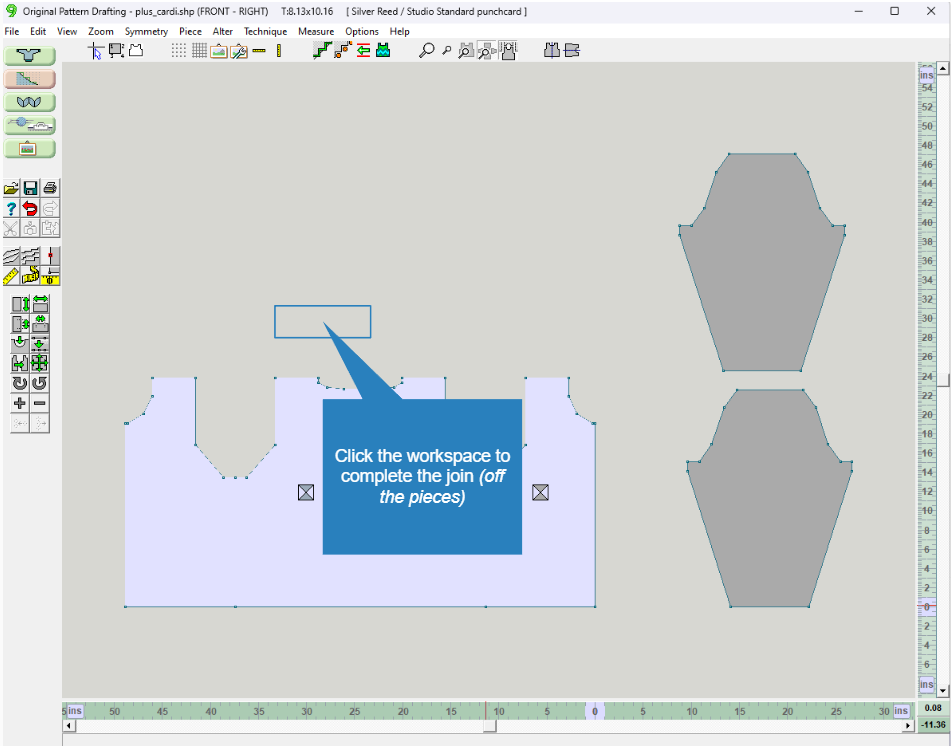
Next, we will join the sweater body pieces to knit them in one piece.
If you plan to knit the fronts and back separately, skip this step.
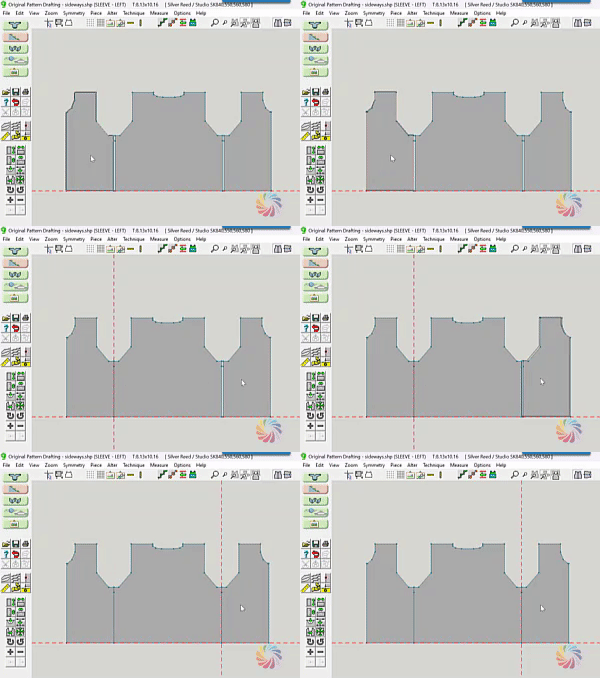
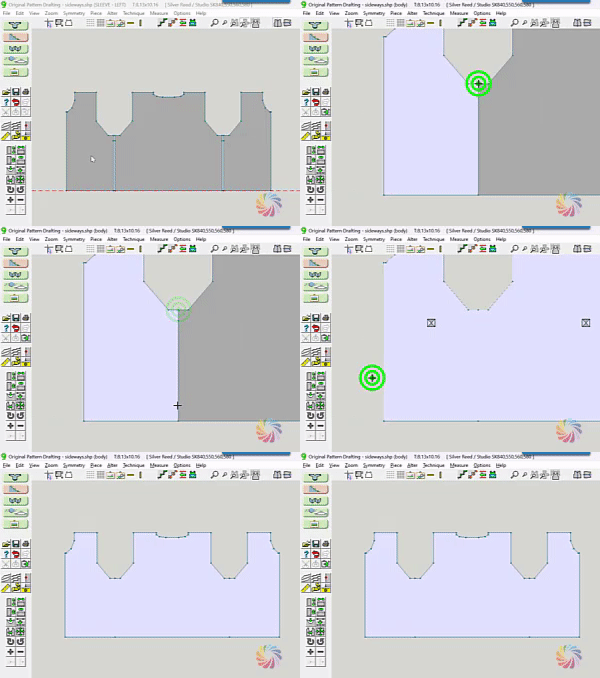
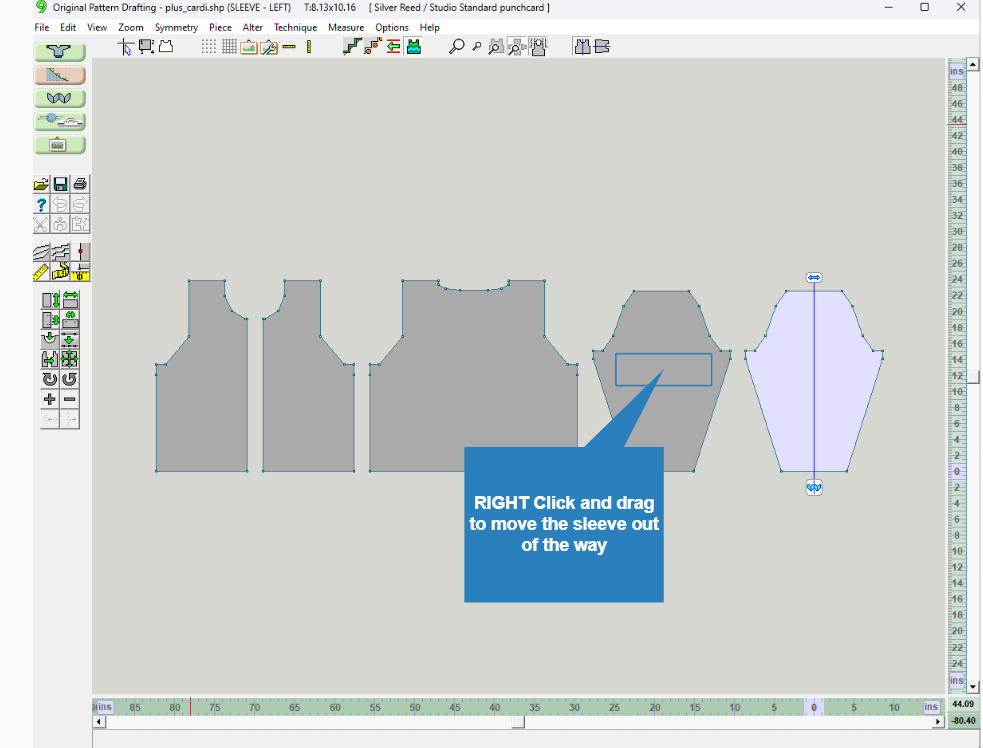
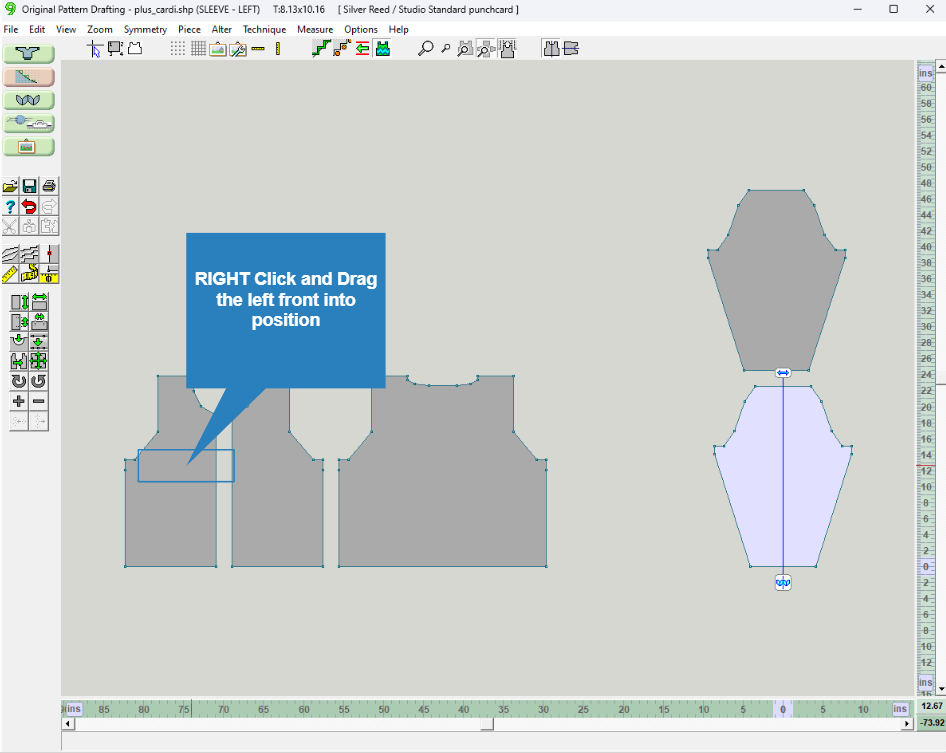
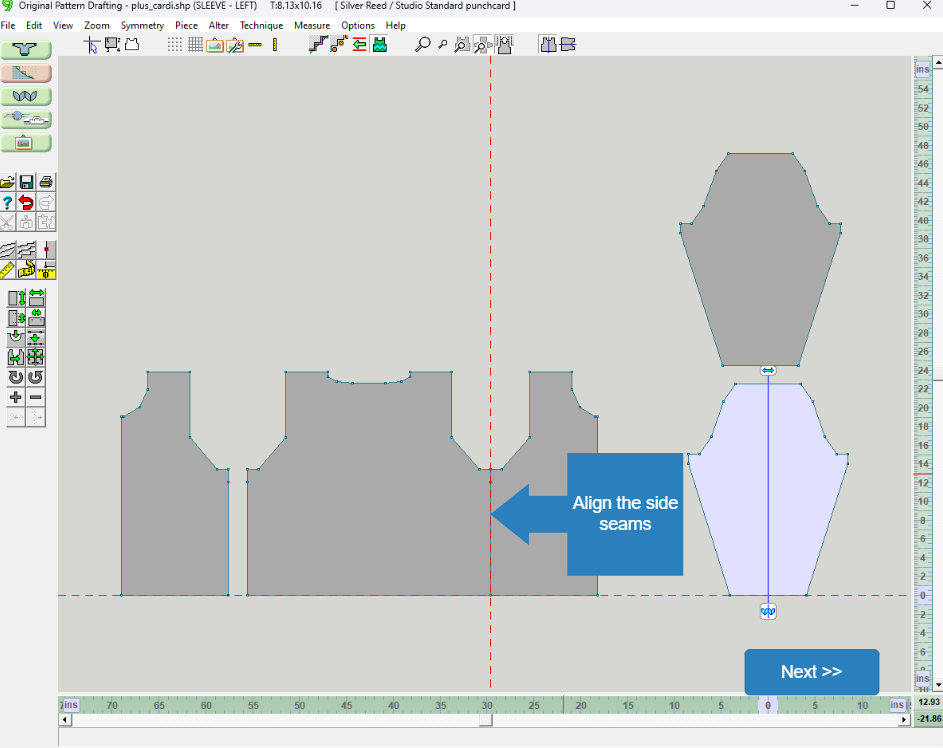
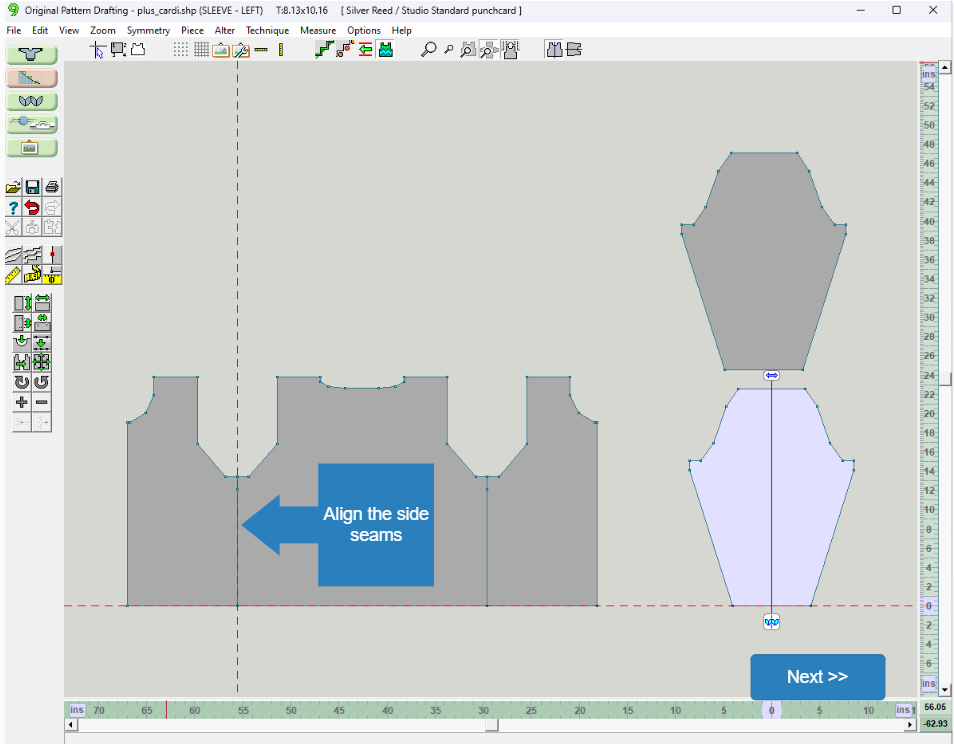
Use the right mouse button and drag the pieces so the side seams align.
Use Piece → Join to make a single sweater piece.
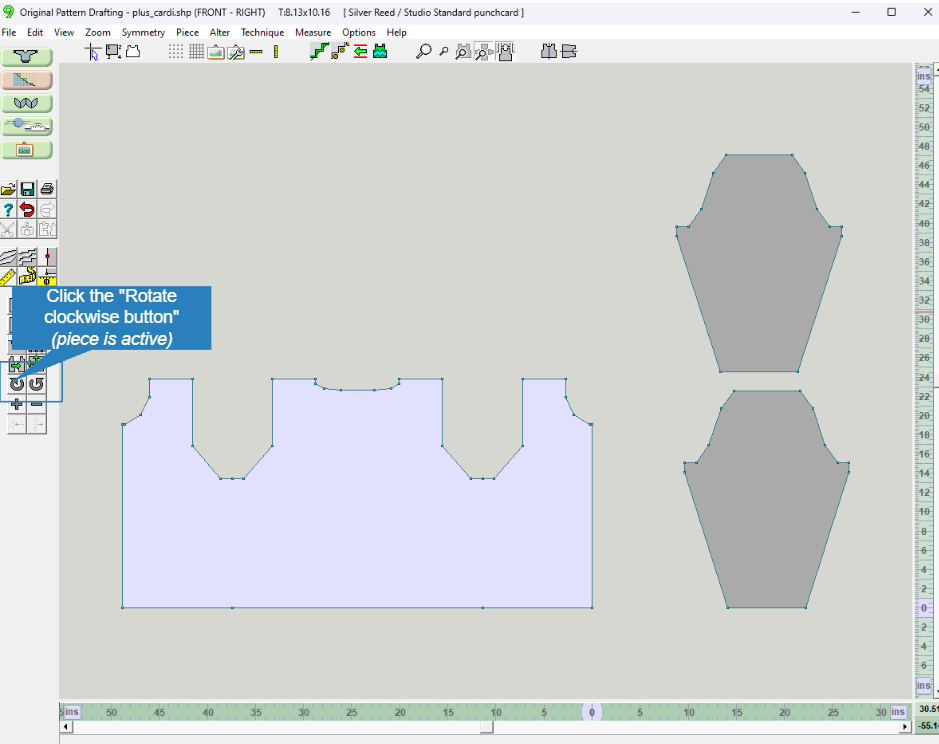
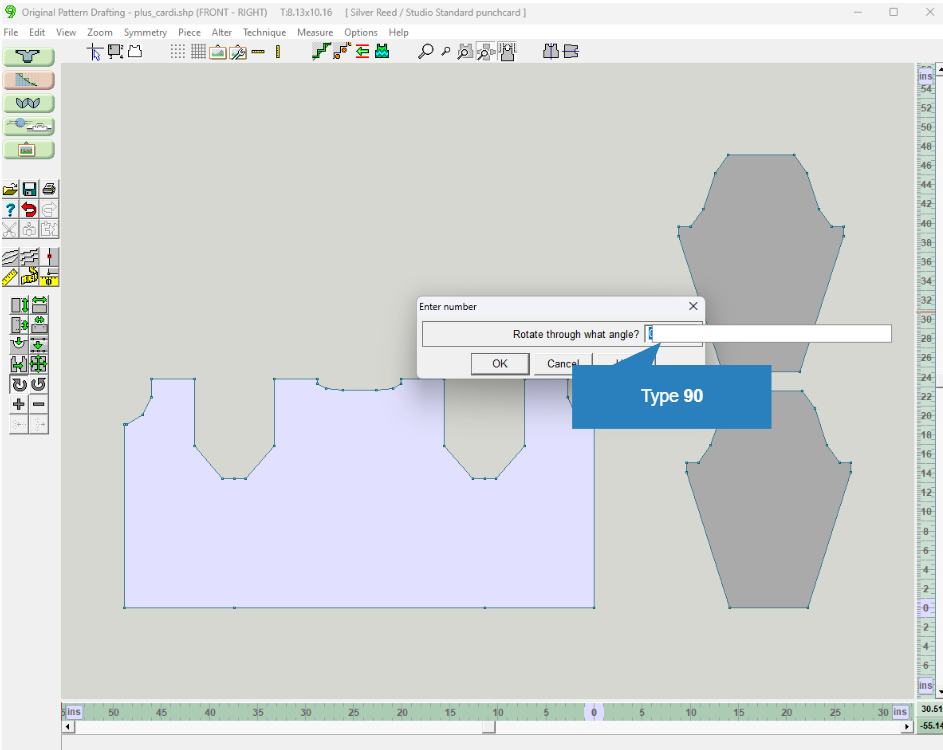
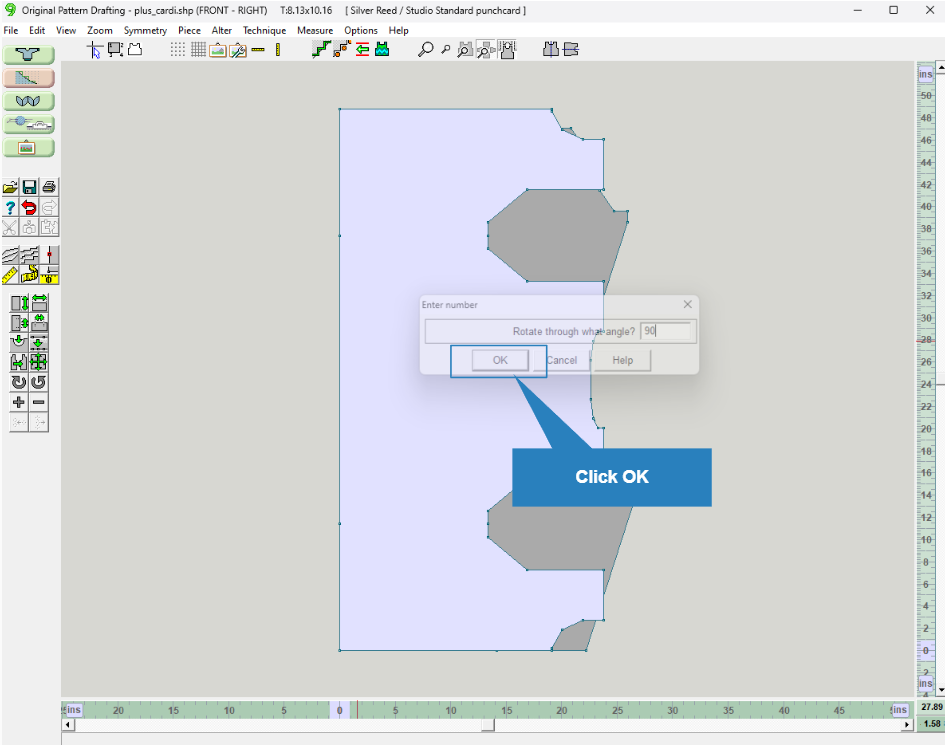
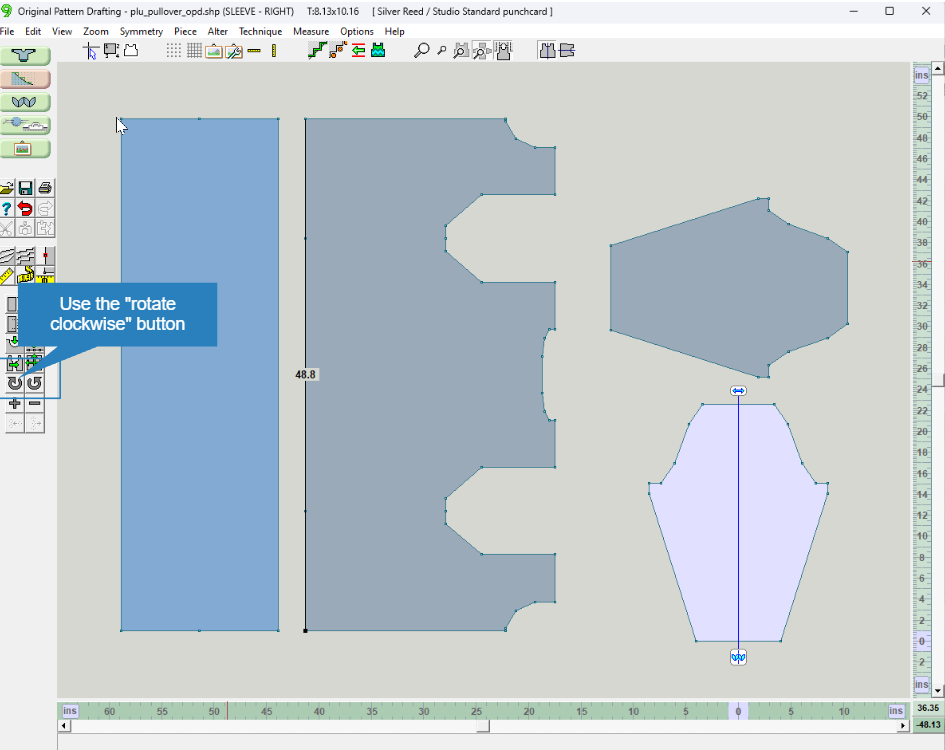
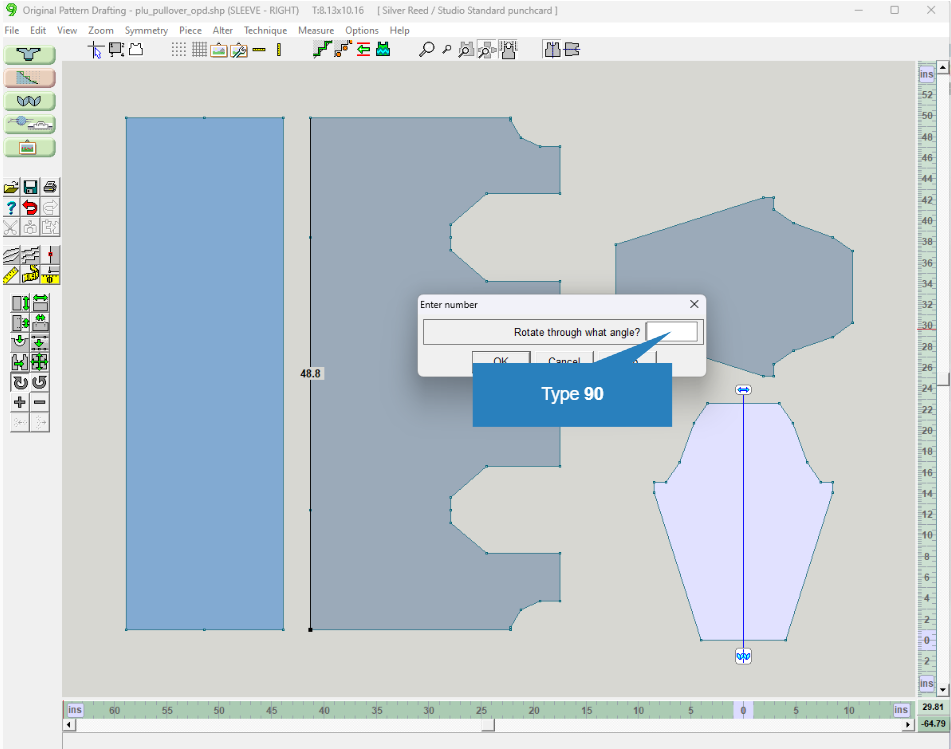
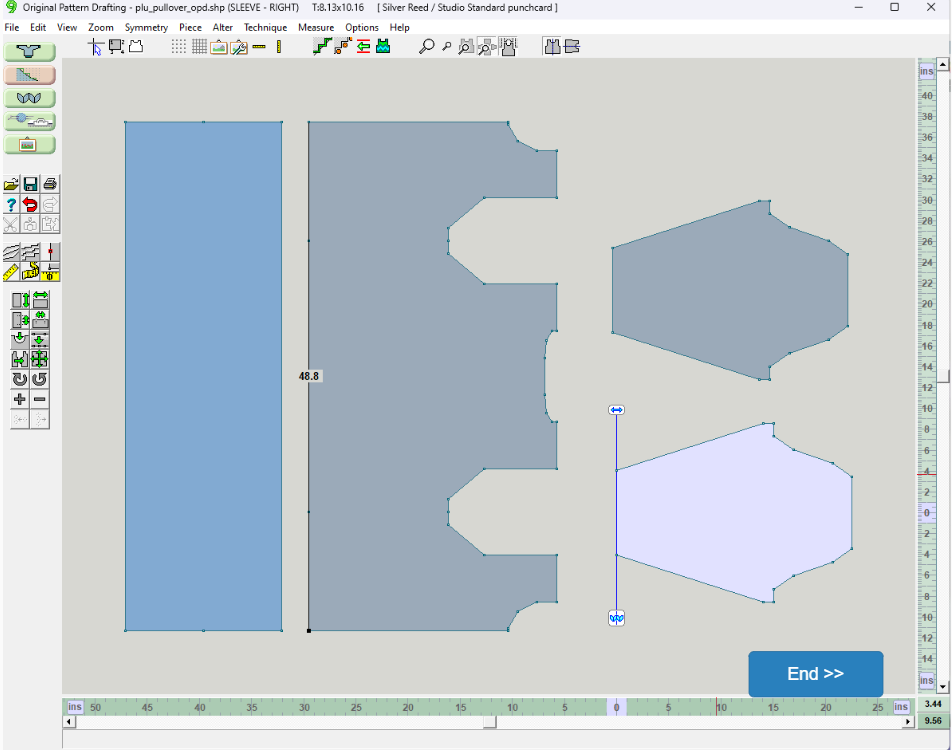
OPD | Rotate the new piece
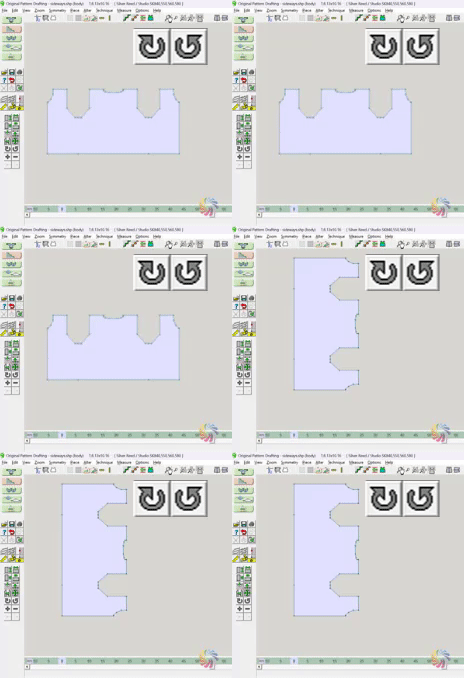
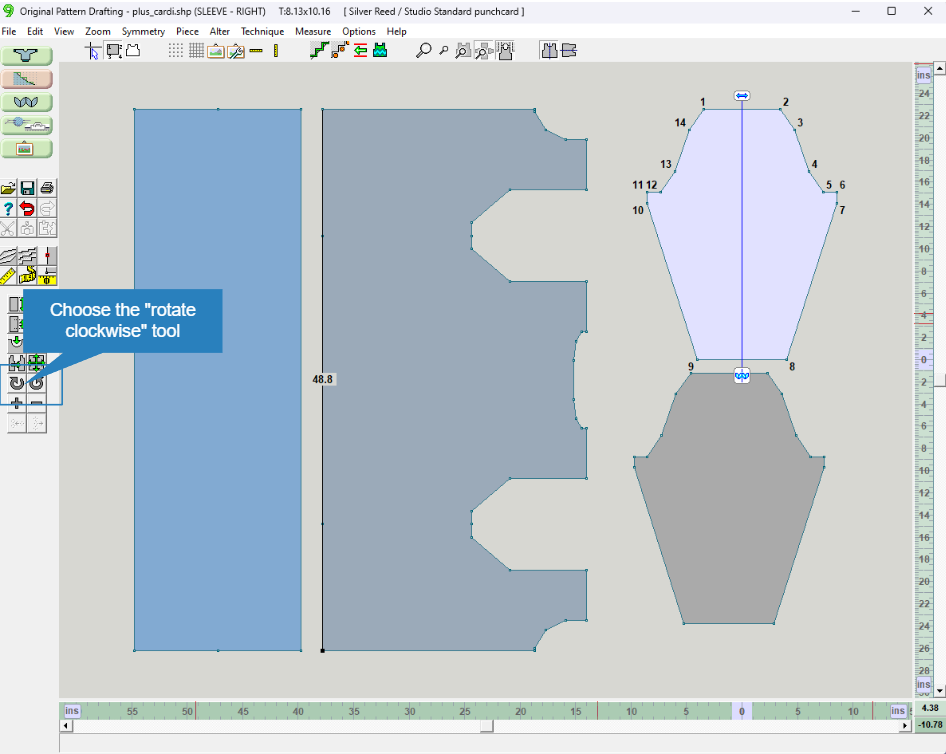
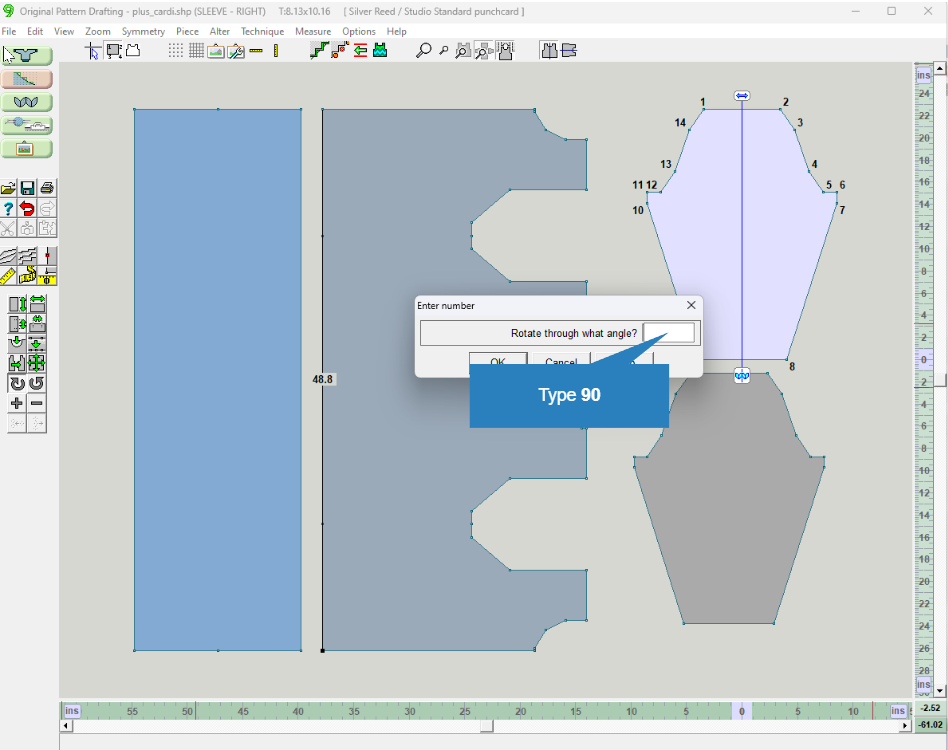
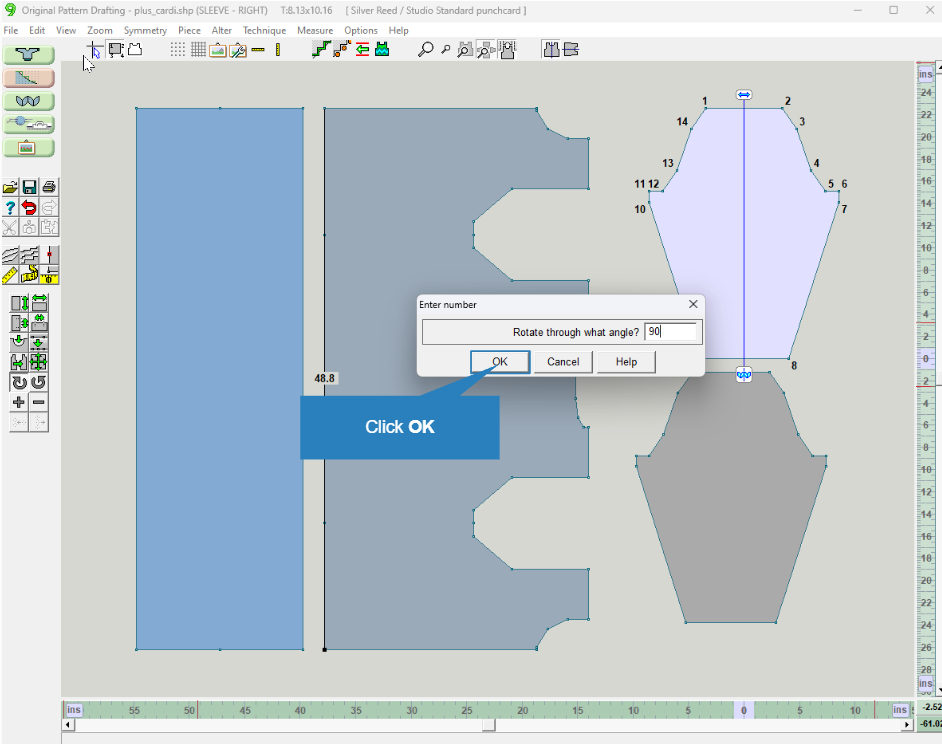
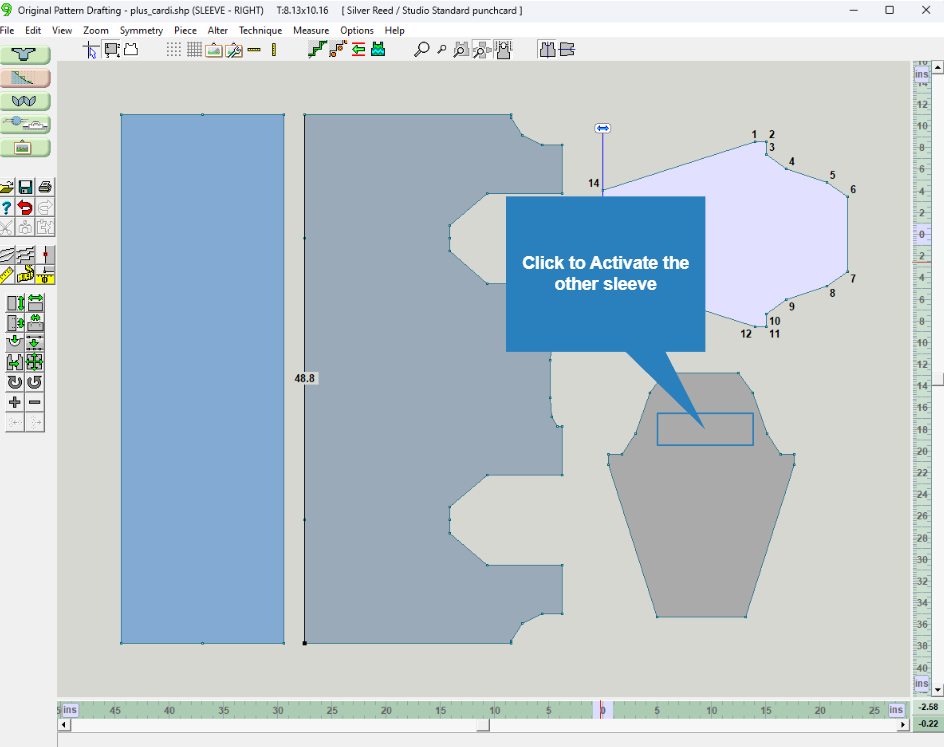
Rotate the entire piece to establish the direction of knitting.
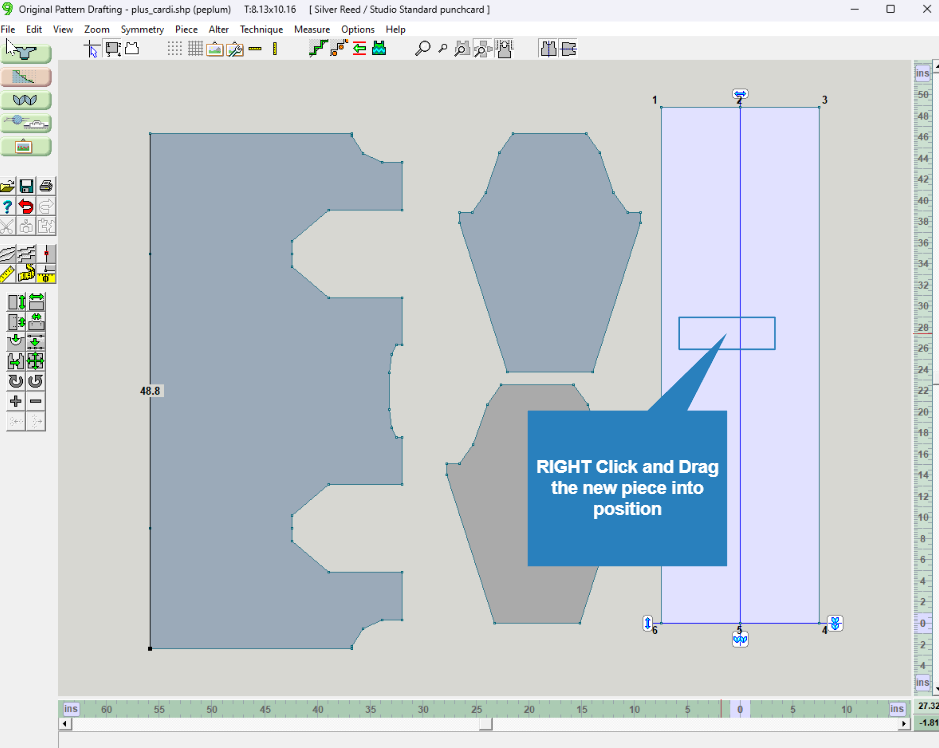
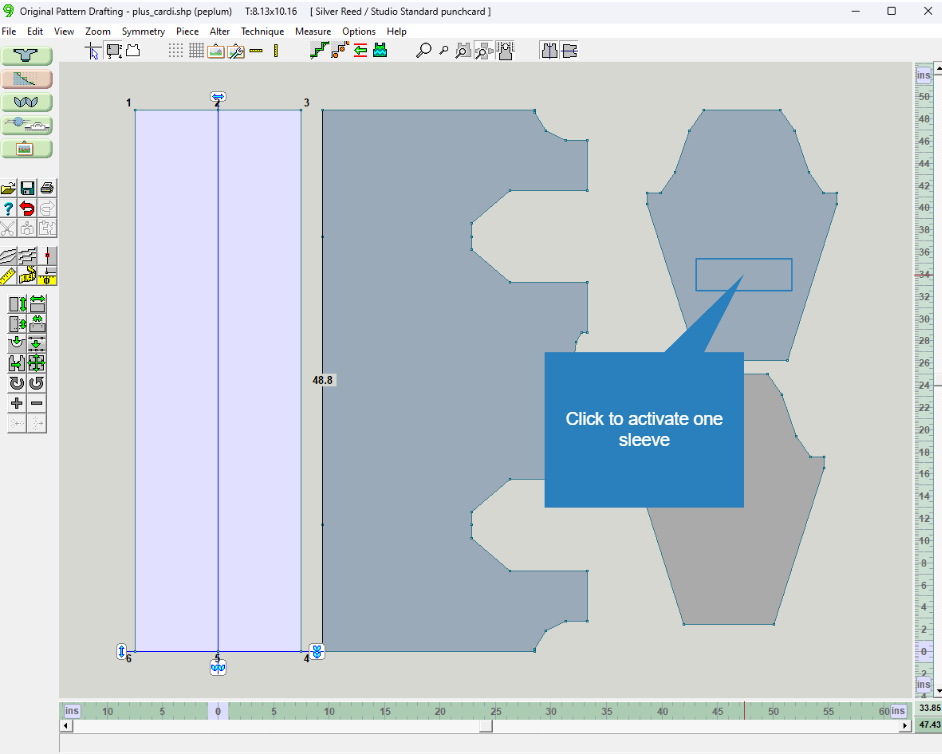
OPD | Add a Peplum (optional)
If you need the sweater longer than the width you have available, consider adding a peplum or lower panel.
This panel can be knit in one piece in the direction of the body of the sweater, or knit in the opposite direction for a designer look.
To create the peplum:
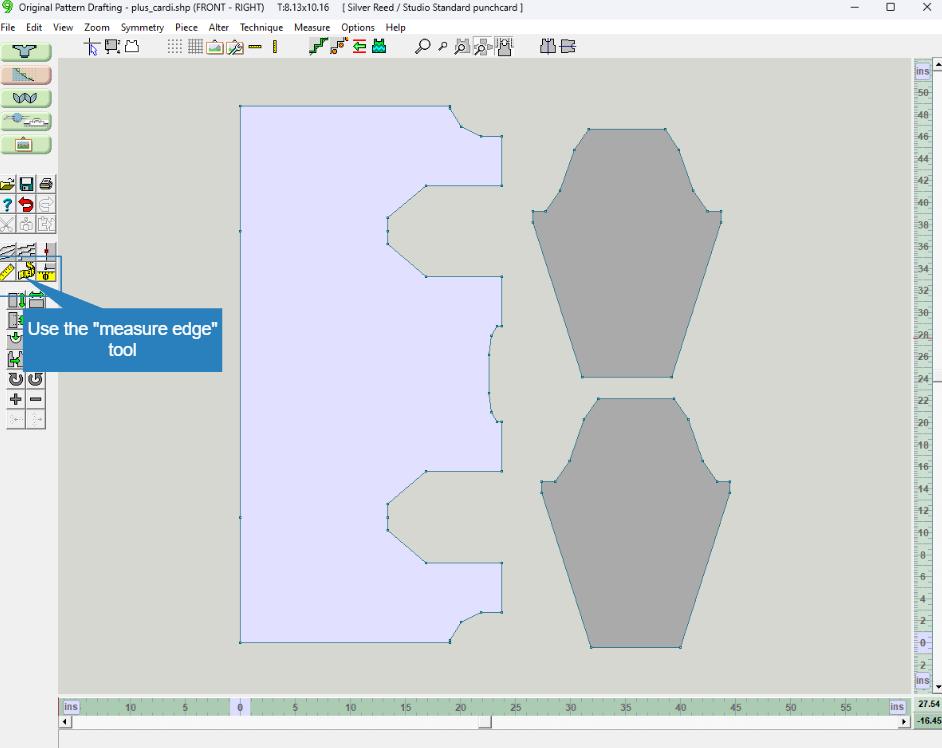
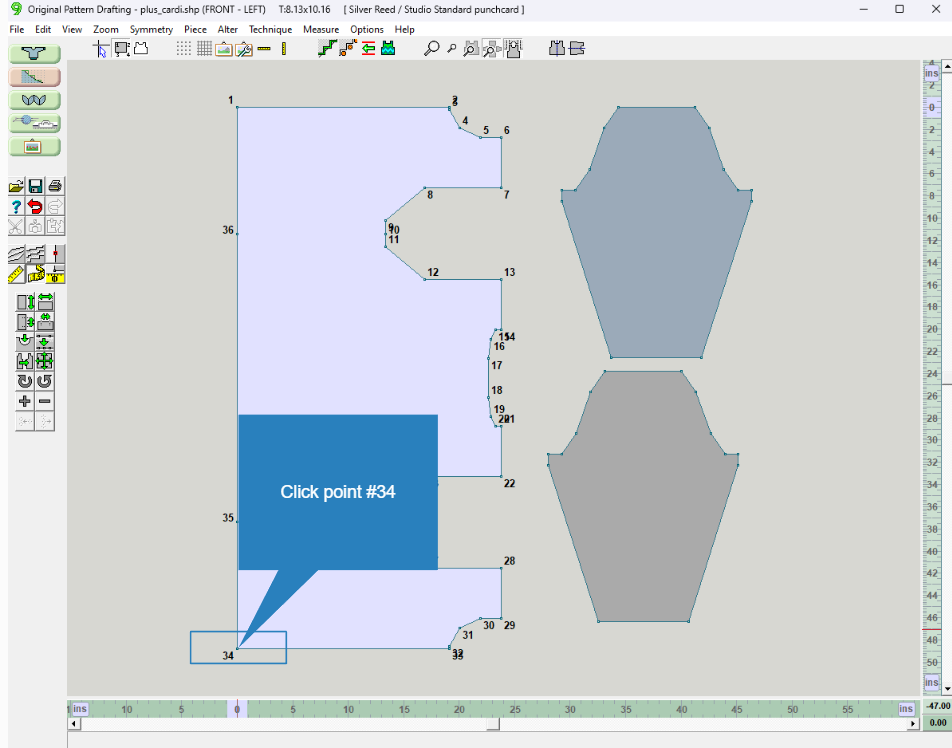
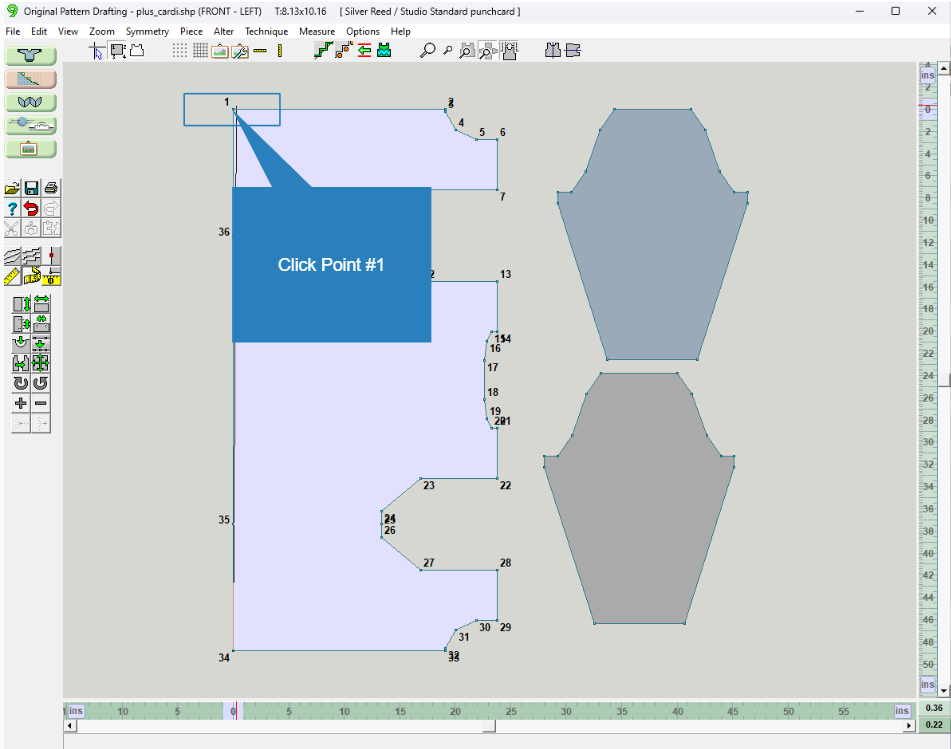
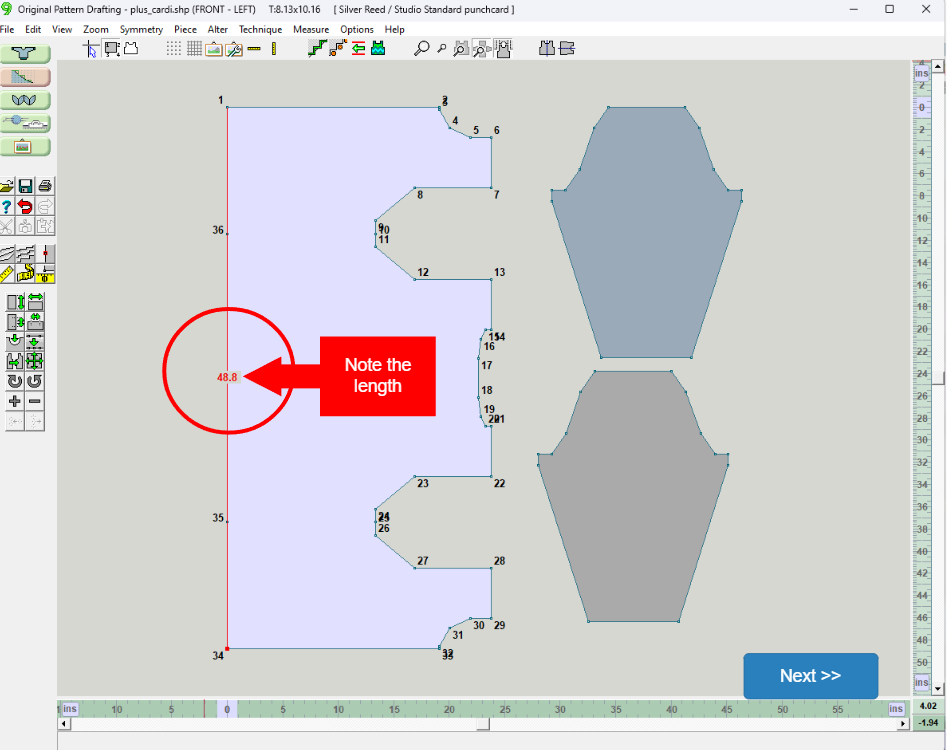
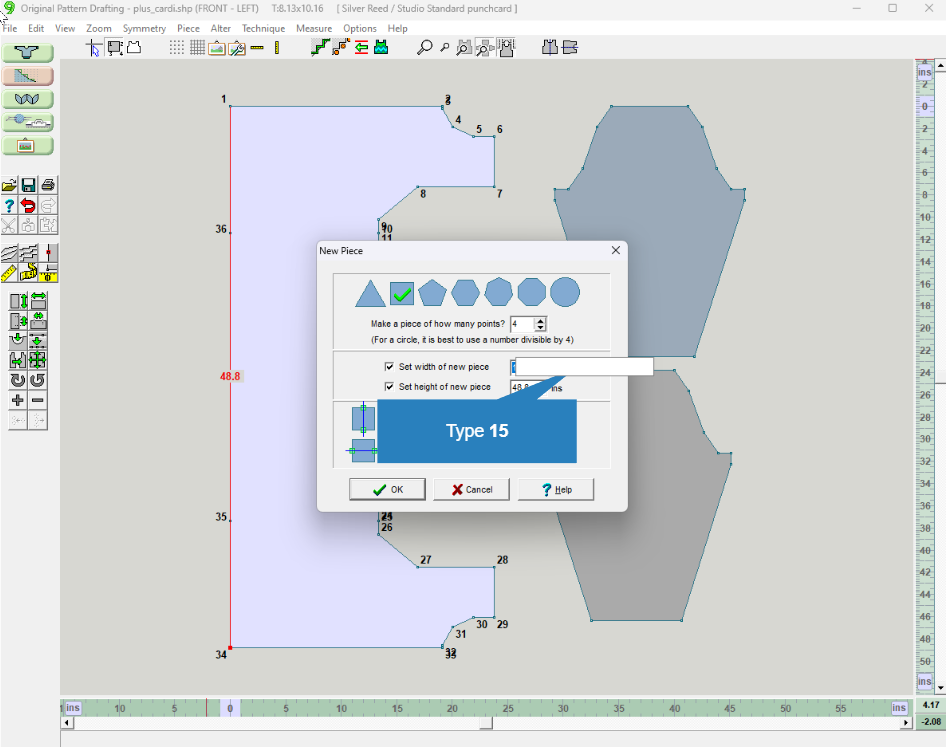
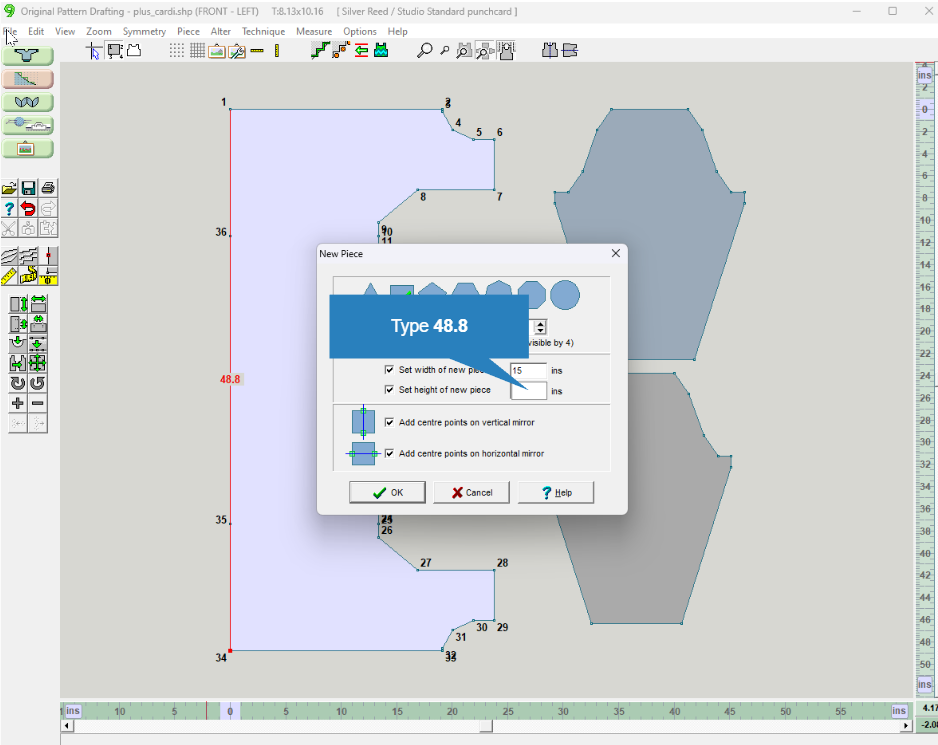
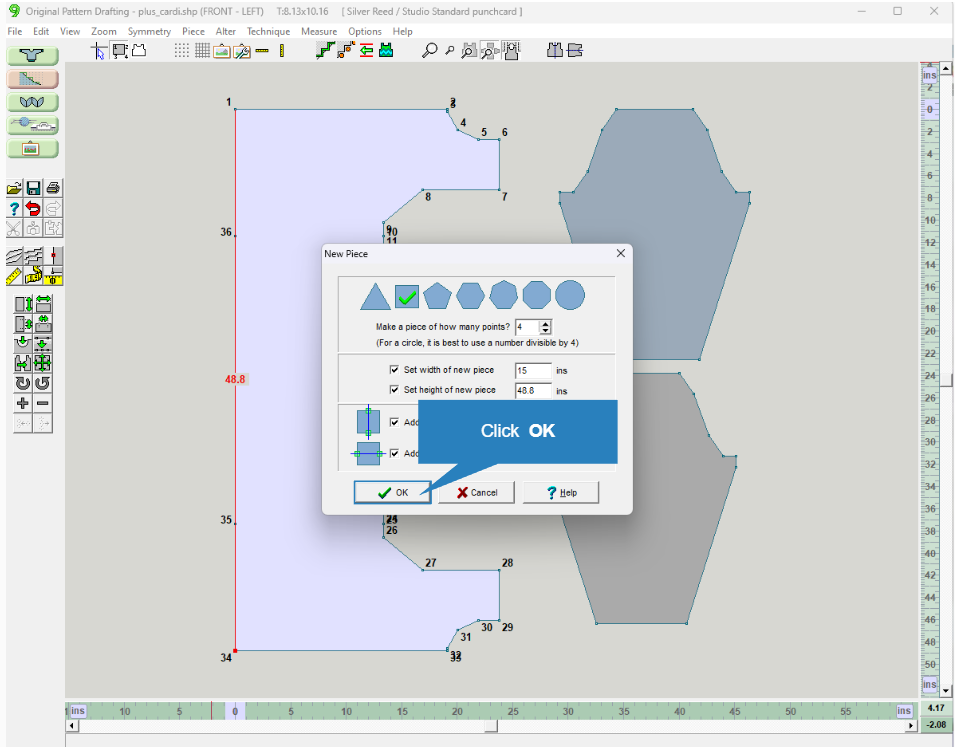
Measure the length of the body.
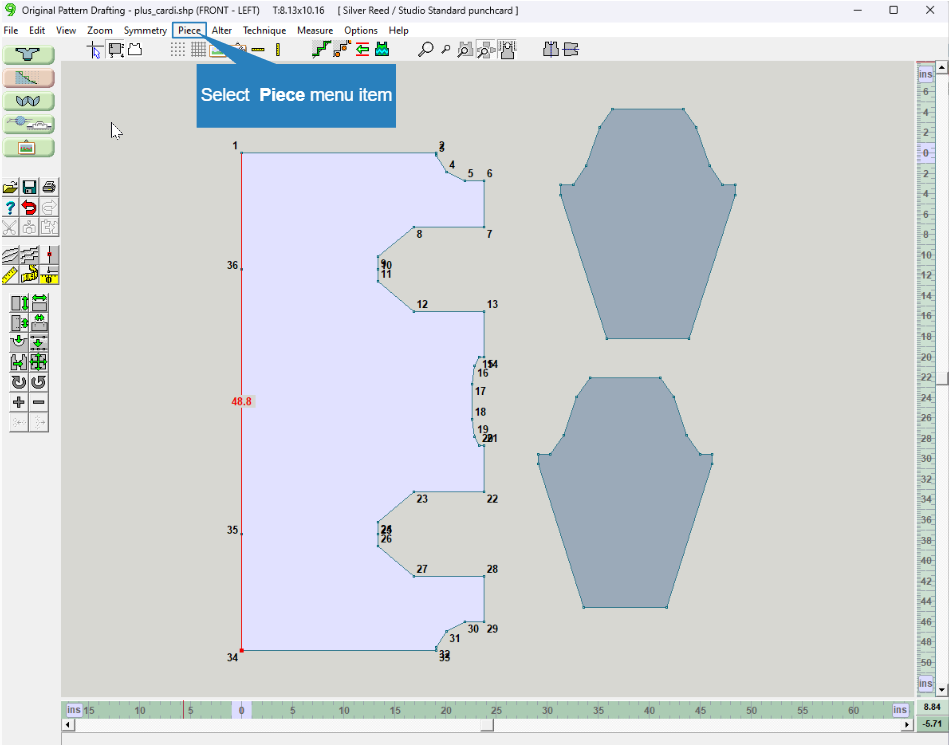
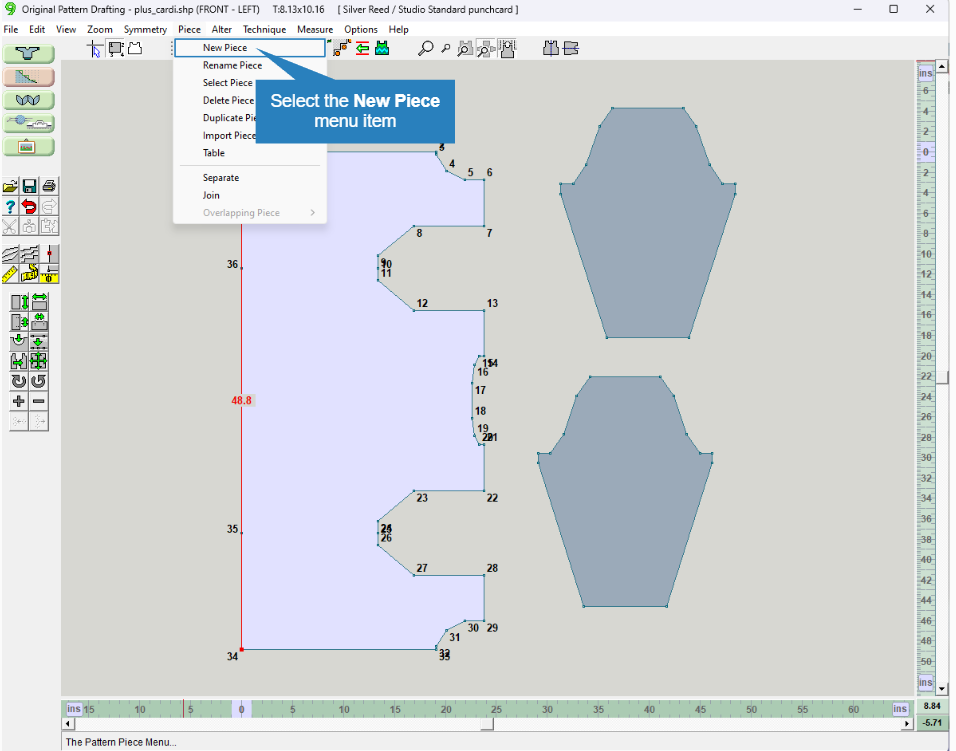
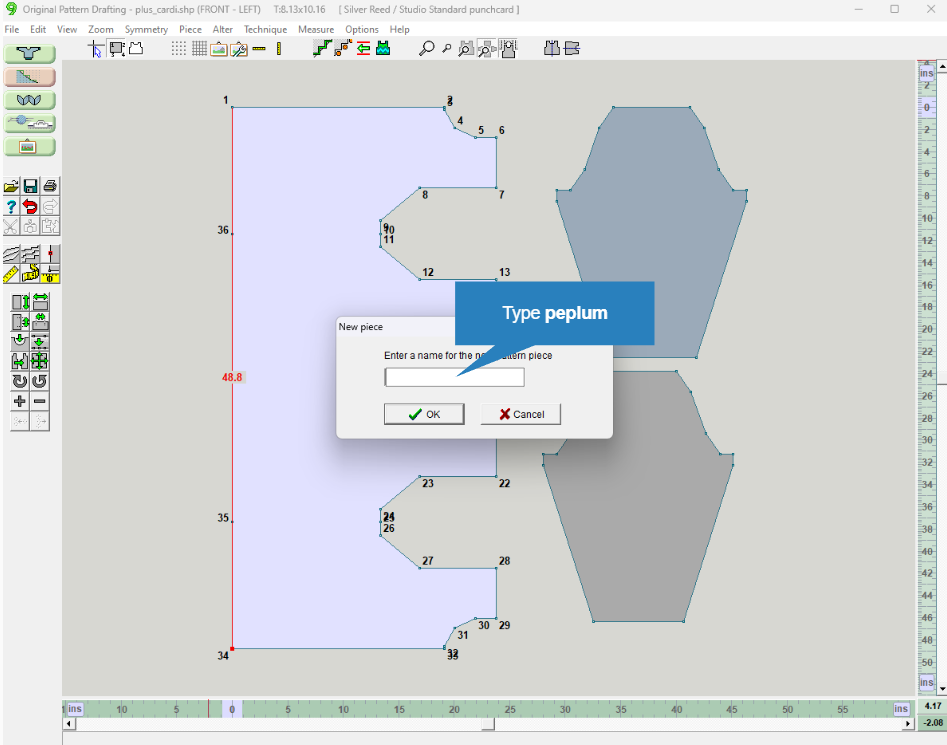
Create a new piece.
Use Fit to Length to match the body length.
Use Fit to Width for the desired peplum length.
Sideways Knitting
Hands-on Walk Through
Walk through the steps for creating a sideways knit cardigan with a peplum
Slide 1 of 40
Sideways Knitting
Select a lesson from the menu above to get started.