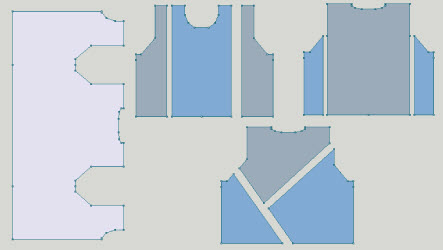
When we need more stitches than we have needles, we need to knit panels. Whether it's a blanket or a sweater, adding seams can be an opportunity for design creativity.
Creating sweater panels can be easily done in Original Pattern Drafting, but you don't have to start from scratch.
When designing, DAK has no stitch limitations. It doesn't know or care how many needles you have available.
(However, when using Interactive Knitting, DAK checks the machine you have selected and warns you if there are not enough needles available.)
Create your sweater with a basic shape in Standard Garment Styling. Get all the measurements correct, then create panels in Original Pattern Drafting. Take care not to change the finished sweater size as you design.
We will start by putting a seam down the center front and back of a sweater. This may not be the most attractive style, but it will give you a good understanding of the tools needed to create other panel styles.
We will then apply the same skills to other panel styles.
When imagining panels, think about color blocks and texture changes between the panels, and be creative!
Panel Options
Center Front and Back Seams
Here are the basic steps for creating panels in garment pieces. Even if you'd like a different style of sweater with panels, this exercise covers all the tools, tips and tricks for this process.
Panel Options
Center Front and Back Panels
Apply the skills just learned and create a decorative center front and back panel.
Panel Options
Underarm Panels
Create attractive underarm panels to accommodate our needlebed limitations.
Panel Options
Color Blocks
Instead of panels with straight vertical seams, consider designing and knitting color blocks in manageable sizes.
Panel Options
Color Block Walk Through
Split a sweater front into 3 color blocks, using basic Original Pattern Drafting tools
Color Blocks
Panel Options
Panels in Sleeves
Use the same tools we've been using, quickly and easily add a decorative panel to a sleeve.
Panel Options
Different Gauges
DesignaKnit can only incorporate a single gauge at a time.
An interesting design scheme is to mix and match stitch patterns in panels. But knitting instructions will have to be generated for each section separately.
As we knit, we can simply change the gauges in the garment file or create separate DesignaKnit files for each gauge.
DesignaKnit can only incorporate a single gauge at a time. If knitting pieces at different gauges, we need to generate separate knitting instructions by changing gauges.
Create separate DAK files for different gauges
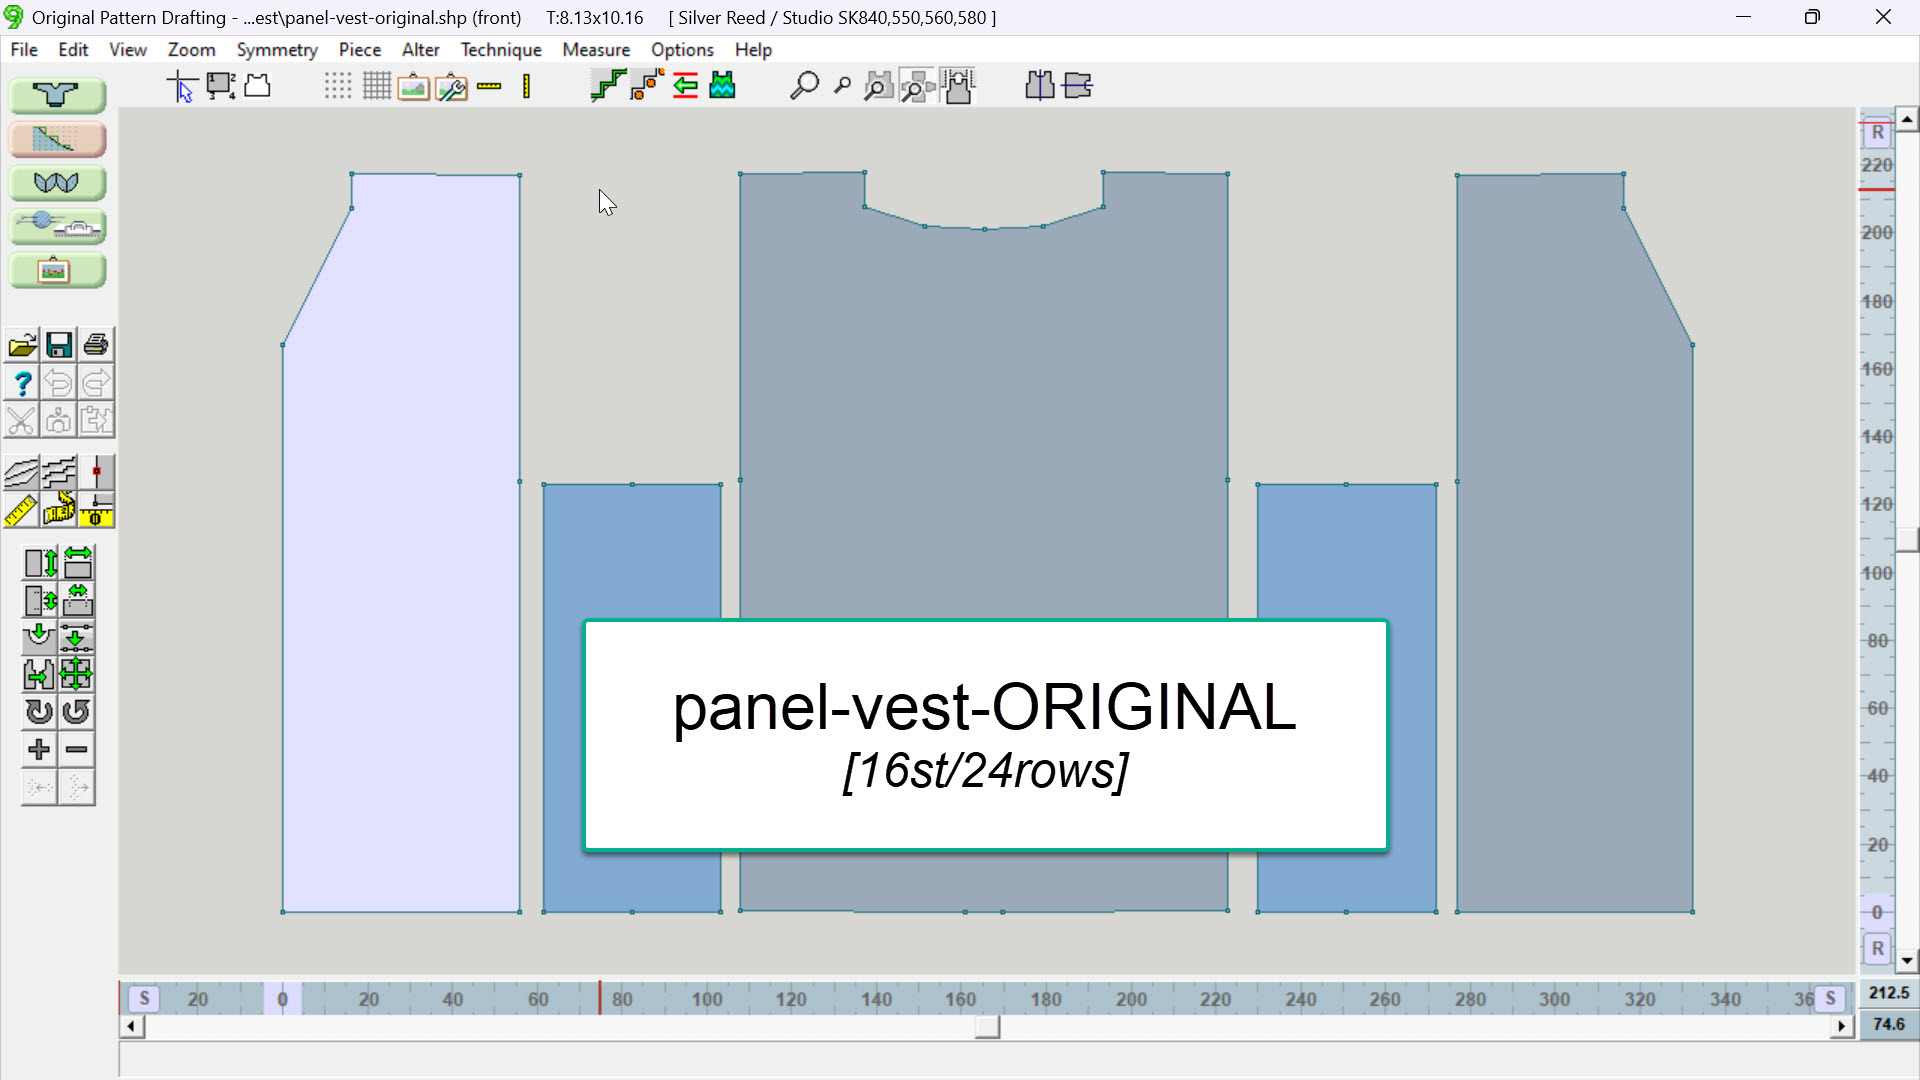
For example, this vest has underarm side panels. I want to knit the panels in ribbing.
After designing:
After creating and fine-tuning the sizing of the vest pattern:
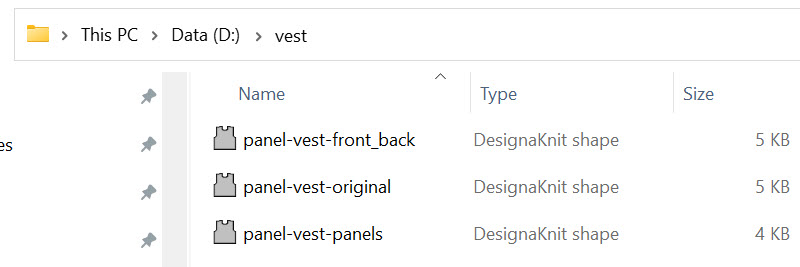
Save and name the file panel-vest-ORIGINAL.
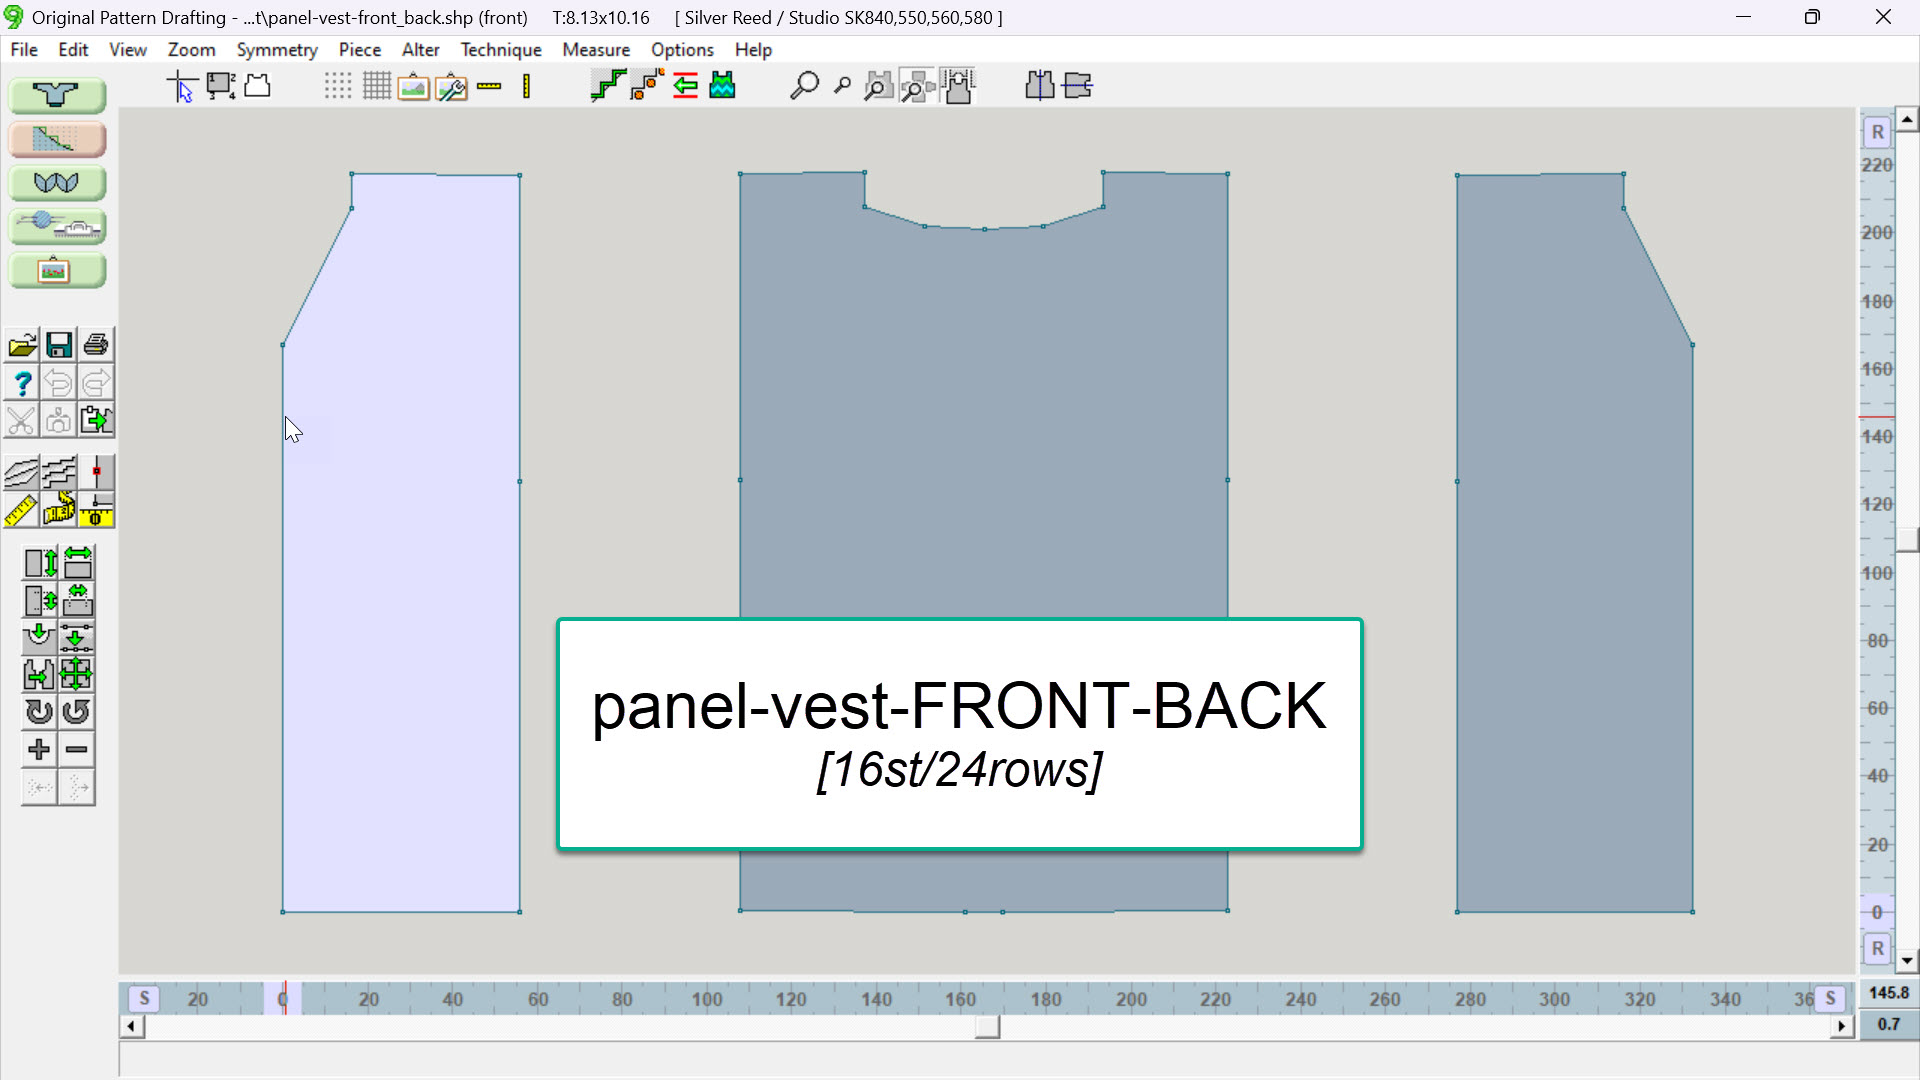
Establish the gauge at your BODY stitch gauge. Save the file again and name it panel-vest-FRONT-BACK.
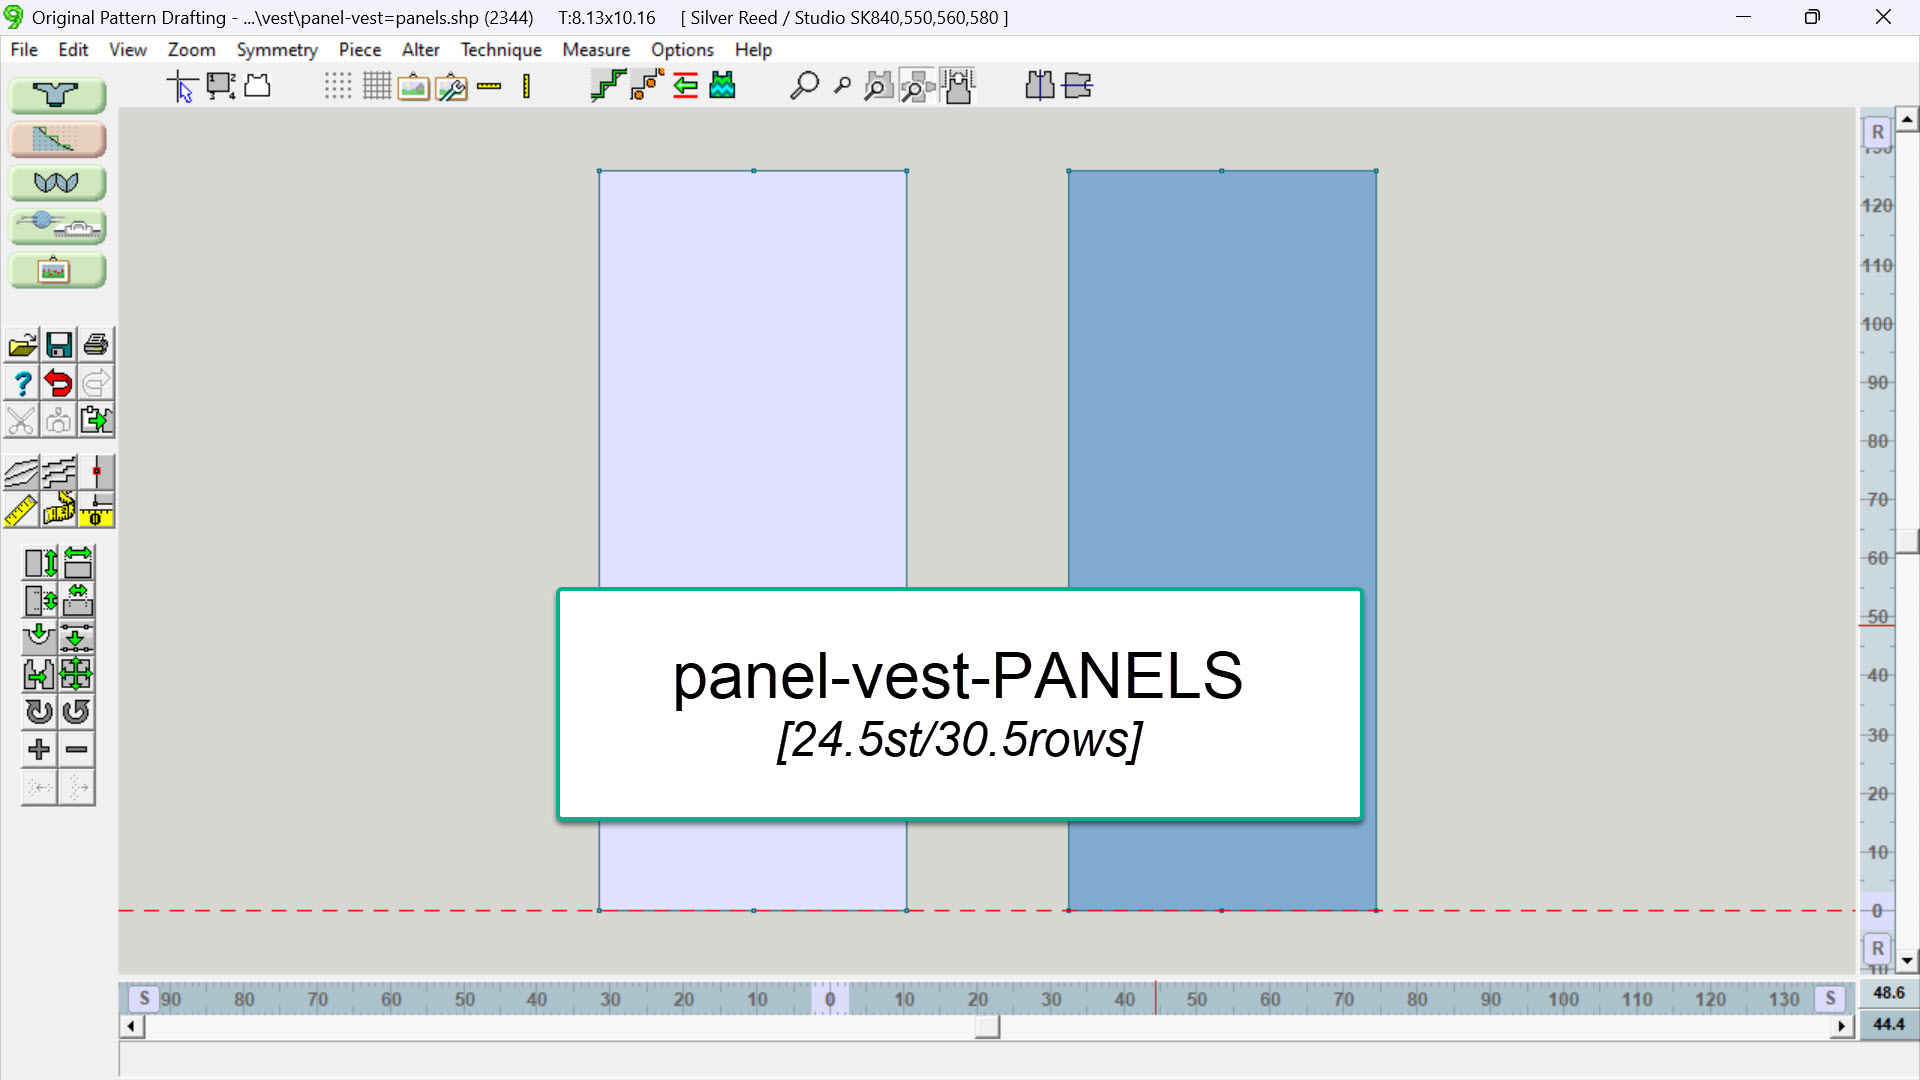
Establish the gauge for your PANELS and save the file again. Name it panel-vest-PANELS.
When knitting:
Use panel-vest-FRONT-BACK knitting instructions to knit the fronts and backs.
Use panel-vest-PANELS for the knitting instructions to knit the panels in pattern.
OPTIONAL
To prevent confusion, you might consider deleting any “unused” pieces in each of the files.
Create the file panel-vest-PANELS, then delete the front and back pieces.
Create the file panel-vest-FRONT-BACK, then delete the side panel pieces.
Panel Options
Select a lesson from the menu above to get started.